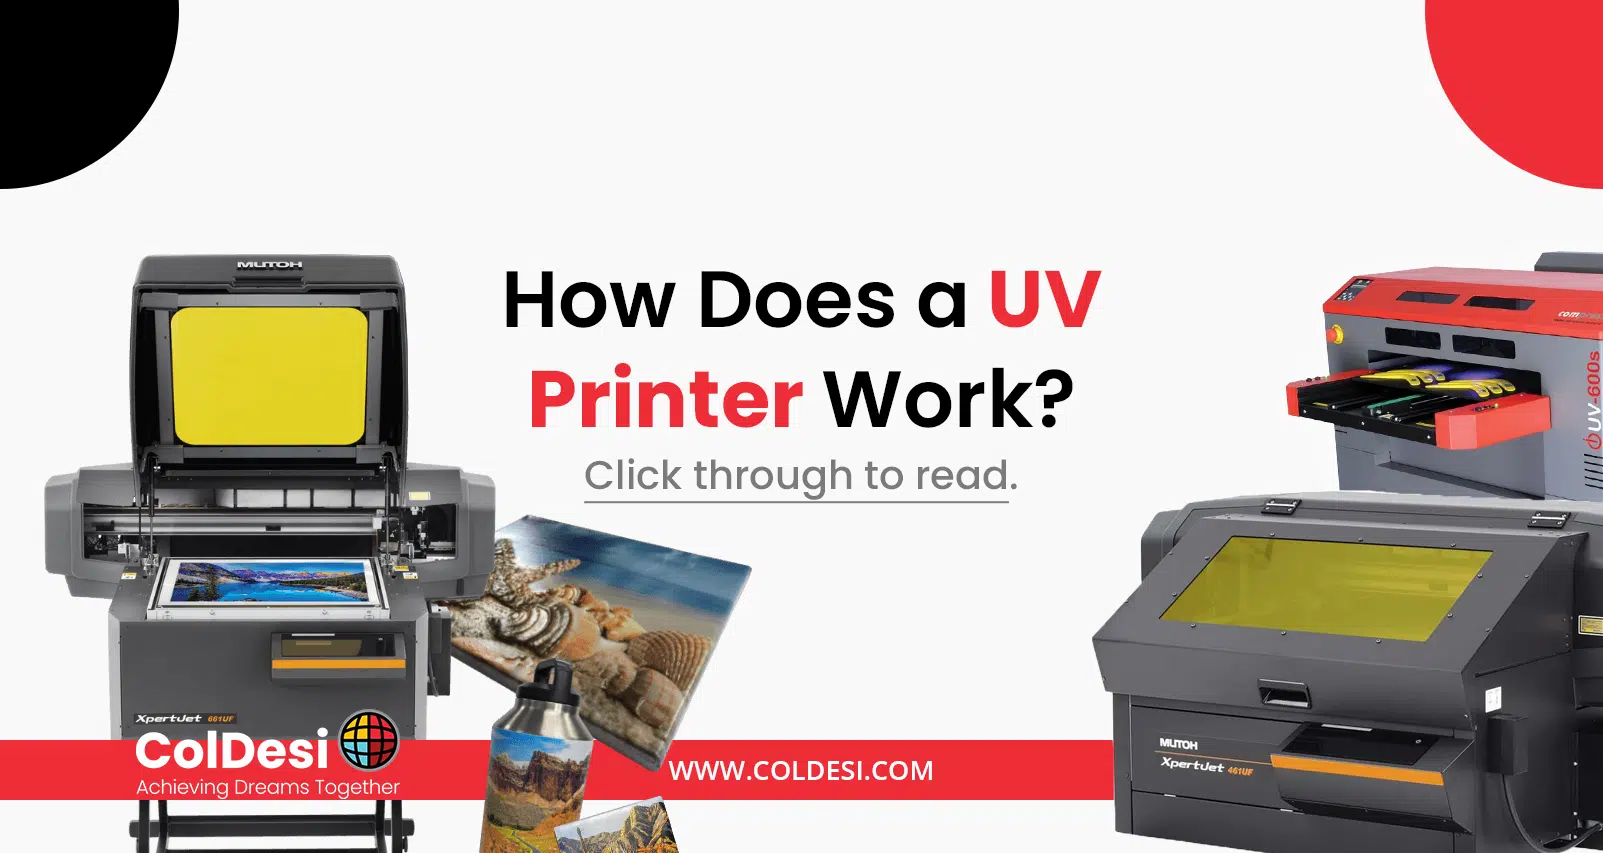
If you’re here to learn how a UV printer works, then this walkthrough is for you!
In our time together, we will go through a series of paragraphs and video demonstrations explaining, in detail, how the typical UV printing process works.
Whether you’re a business owner who wants to get in on this, a hobbyist, or just an employee tasked to understand the technology, by the end of this read, you should have a (slightly) clearer picture of just what UV printing is, how it works, and what you can make with it!
And for those ready to take the next step, as we near the end of this article, we’ll point you to where you can buy a UV printer.
But before that, we need to cover some basics first.
So, let’s get to that.
What is UV Printing?
If you’ve just read the question in the headline above and don’t have an answer to it, or if you’re drawing a blank, don’t panic.
In this section, we’ll clear this up and get to the bottom of what exactly is UV printing.
Now, if you look closely at the name itself, we can find a hint that partially explains this printing method and points us to the answer.
Part of the answer can be found in the UV lamp (or multiple lamps) within the printer. These lamps emit ultraviolet (UV) light to dry and cure the ink. The ink that’s used to print is not your typical water-based ink, toner, or plastisol. Instead, UV printers run on specialized UV-curable inks.
Now, we’re going to get way more into this in the next paragraph.
For now, understand that UV printers are remarkable for their ability to print direct-to-object, completely bypassing the need for a traditional heat press.
Which means that as soon as the ink hits the surface, UV lamps immediately expose the ink to UV light. This then triggers a chemical reaction in the ink causing it to harden or cure almost instantly. As a result, the ink dries rapidly, adhering to the substrate surface.
And there you have it. Now you know what UV printing is! As to how it works, we’ll need to walk you through each step of the printing process for you to understand it.
So, let’s see ‘how’ in the next section.
Give THIS article a read to explore what is UV-LED printing, how it works, and why you should be interested in it.
Each Step of The UV Printing Process Explained
If you’ve never used a UV printer before, you might be wondering how it works.
So, in this part, we’ll take you through each step of the UV printing process from beginning to end. So that by the time we reach the end of this, you understand the ‘inner workings and core principles’ of what you’re getting into.
Here is the breakdown on how UV printing works:
1. Design Creation: Everything begins with an idea, which serves as the foundation for your design. To bring it to life, you use graphics design software like Adobe Illustrator or Photoshop. Within these programs, you essentially prepare the files for printing by adjusting dimensions, resolution, color modes, and various other settings to ensure they are ready for printing and compatible with the actual printing equipment.
2. Substrate Selection: Once the design is complete, the next step is to select an item on which the design will be printed on. Before printing, make sure that the surface is cleaned thoroughly; remove any dust, dirt, oils, or liquids that could affect the print quality.
3. Printer Setup: The third step is to set up your UV printer for printing. This includes several things to be in check. Firstly, you’ll need to import and modify the design file and adjust your print settings. Before sending the print job to the printer, it’s crucial for you to confirm that the ink cartridges or containers are filled and properly installed in their designated slots. Lastly, don’t overlook the possibility of needing jigs, fixtures, or molds for your project.
4. Printing: Once you’re all set-up, you can start printing! The printer will then print the design (or image) you had selected directly onto the item.
And voila—that’s about all there’s to it!
As you’ve just read, the process is fairly simple and straightforward. The process can take anywhere between a few minutes to longer than an hour, depending on factors like whether you have the design ready, the number of items you’re printing, and the overall size and scale of them.
Now, perhaps, you have a clearer understanding about what exactly is UV printing and how it works.
But there are still a few things left to talk about. Like for example, what are some of the different things you can decorate with a UV printer?
If you’re in the market for a Flatbed UV Printer, you’ll want to read our buying guide!
What Can You Customize with a UV Printer?
A big part of why you’re toying around with the idea of buying a UV printer is to turn a profit out of it. You see it as a way to earn some cash! And in this industry, custom products are where the money’s at!
So, it pays to go over some of the items you can make (and sell) with the help of a UV printer.
So let’s go down the list.
- Phone cases
- Laptop skins
- Mouse pads
- Coasters
- Panels
- Tiles
- Wooden plaques
- Acrylic signs
- Bottles
- Metal water bottles
- Thermos cups
- Keychains
- Awards & trophies
- USB flash drives
- Notebook covers
- Canvas prints
- Jigsaw puzzles
- Skateboards
And if that’s not enough customization for you, there are plenty of other stuff you can make, like, lighters, chapsticks, pens, and golf balls.
Where to Buy a UV Printer?
Now, at this point, you’re probably wondering… how much would it cost to have a UV printer set up in your workshop? And where could you buy one?
Luckily, you don’t have to look far, as you can buy directly from us! We carry different makes and models of UV printers that you can choose from, each coming in at a pretty attractive price point, all equipped with the strengths and possibilities that UV printing offers.
And no matter which one you go for (Mutoh, Compress, or Coldesi), you’ll get superior results with any one of them!
So, why wait?
Make your choice today—visit our page HERE to compare prices for different printers, packages, and models.
If you have any questions or need additional information, feel free to chat with us online or give us a call at 877 793 3278.
To learn more about ColDesi’s line of UV printers, visit coldesi.com and Live Chat with a Pro below, or call 877.793.3278.