UV printing on wood is a method of creating durable designs on wooden substrates.
With the right tools and equipment, the process becomes straightforward and highly effective. This comprehensive guide outlines the step-by-step process to help you achieve professional results.
Step 1: Gather Materials and Prepare
Required Materials:
- UV Printer:
Make sure your UV printer is configured for printing on wood and that all components are properly calibrated. Check the settings, including resolution and curing intensity, to ensure optimal performance and print quality.
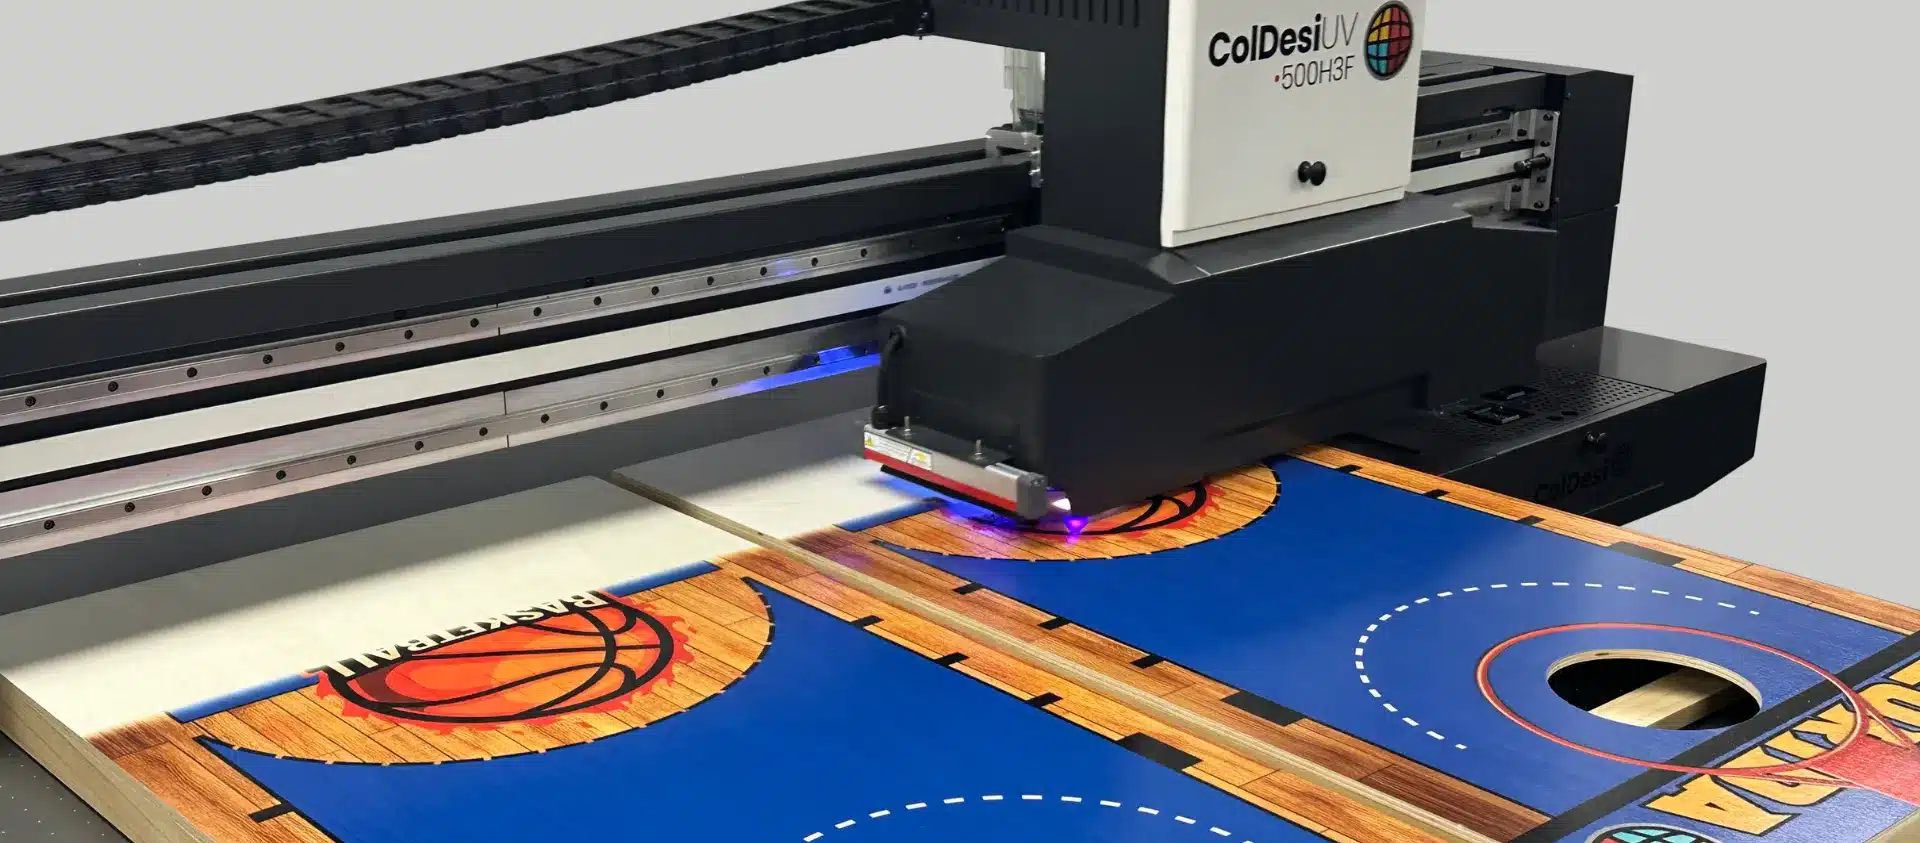
ColDesi UV flatbed printers are designed for diverse printing needs. They are excellent for wood substrates due to their precision and advanced features.
- Wood Substrate:
Tip: For raw wood surfaces, applying a clear gloss layer can seal the pores and prevent ink bleeding. This layer helps maintain a rustic aesthetic and ensures high print quality.
- UV Ink:
Use high-quality UV inks specifically formulated for printing on wood. These inks cure instantly, forming a durable layer that adheres well to the wood surface. Choose UV inks that are resistant to scratches, fading, and environmental wear. ColDesi’s VividBond UV Inks are known for superior adhesion, durability, and color vibrancy.
- Cleaning Supplies:
Ensuring the wood surface is clean is critical for proper ink adhesion and print quality. Use the following cleaning materials:
- Tack Cloth or Lint-Free Cloth: Removes dust, fine particles, and residue.
- Mild Cleaning Solution: A small amount of isopropyl alcohol can be used to eliminate oils and grease. Avoid leaving moisture on the surface, as this can affect ink adhesion.
- Compressed Air: Helps blow away any lingering debris or dust from sanding or handling the wood.
Step 2: Prepare the Wooden Substrate
- Sanding (If Applicable): Use fine-grain sandpaper to eliminate surface imperfections for a smooth, even texture. Sanding is especially important for rough or untreated wood, as it helps create a uniform surface for better ink application and a polished result.
- Priming (Optional): For untreated or porous wood, applying a UV-compatible primer is highly recommended. This step enhances ink adhesion and prevents ink absorption. Apply a thin, even coat of primer and allow it to dry completely before proceeding.
- Cleaning: Thoroughly clean the surface of the wood, removing any dust, oils, or debris that could interfere with the printing process. Use a lint-free cloth or tack cloth to wipe down the surface for a residue-free finish.
Step 3: Create Your Design
Step 4: Prepare the UV Printer
- Connectivity: Verify that the printer is connected to your computer or network and is fully operational. Check for any software updates or maintenance alerts to avoid interruptions during printing.
- Ink Loading: Use inks that meet the manufacturer's specifications and are formulated for printing on wood. Ensure all ink is installed correctly and filled to the appropriate levels for uninterrupted printing.
Adjust Printer Settings
- Height Adjustment: Calibrate the printer’s printhead to match the thickness of the wood substrate. The distance between the printhead and the wood must be precise to avoid head strikes. ColDesi's 300H3F and 500H3F feature automatic height adjustment for added convenience.
- Resolution Settings: Select a resolution that balances print quality with production speed. For intricate designs or fine details, a higher resolution is ideal. For less detailed prints, a moderate resolution can save time while maintaining quality.
- Ink Layers: Experiment with the use of white ink underlays when printing on darker wood. A white base layer enhances color vibrancy, ensuring your designs stand out. Adjust the thickness of the ink layers based on the wood's texture and the desired effect. For porous wood, slightly thicker layers may improve coverage.
Step 5: Position and Secure the Wood
Placement: Align the prepared wood on the printer bed. Stability is essential to avoid movement during printing. Misaligned or improperly positioned substrates can lead to distorted designs, uneven prints, and potential damage to the printer’s components, affecting productivity and output quality.
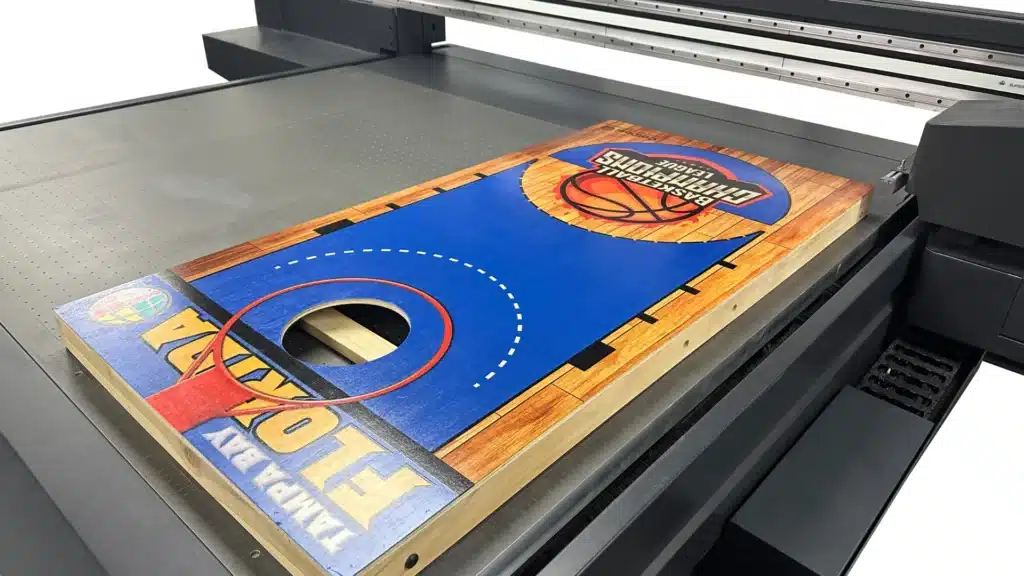
Securing: ColDesi UV printers’ vacuum bed system securely holds materials in place during printing. This system ensures consistent quality and versatility for both rigid and flexible substrates, enhancing productivity and minimizing errors in custom printing projects.
Step 6: Start Printing
Once all preparations are complete, it’s time to bring your design to life on the wood substrate. This step focuses on ensuring the final print is executed with precision.
- Import the Finalized Design File: Open the UV printer software and import your finalized design file. Ensure the file format is compatible with the printer. Supported file formats include PDF, TIFF, or JPEG, depending on the manufacturer’s specifications. Double-check that the design’s dimensions and placement align with the wood substrate.
- Review Settings: Before initiating the print, review all printer settings to ensure optimal results:
- Resolution: Confirm that the print resolution matches the level of detail required for your design.
- Substrate Thickness: Verify that the printhead height is correctly calibrated to avoid smudging or damage.
- White Ink Underlays: Ensure white ink layers are applied if needed.
- Color Profiles: Select the appropriate color profile to achieve accurate and vibrant colors.
- Start Printing: Once all settings are verified, start the printing process. Check the first few passes to ensure everything is functioning as expected. ColDesi printers feature real-time monitoring systems that detect issues early for smooth production.
Step 7: Apply Finishing Touches
- Quality Inspection:
- Examine the printed wood substrate to verify the quality of the print.
- Check for vibrancy, clarity, and alignment of the design. Ensure all colors appear as intended, especially if a white underlay was used.
- Look for any imperfections, such as smudging, blurring, or incomplete ink coverage, and address them as needed.
- If imperfections are found, assess whether reprinting is necessary to meet quality standards.
- Optional Coating:
- To enhance durability, apply a protective clear varnish to the printed surface.
- Coatings provide protection against scratches, moisture, and discoloration.
- Choose a coating that is compatible with UV inks and wood. Options include matte, satin, or gloss finishes, depending on the desired aesthetic.
- Apply the coating evenly and allow it to dry completely before handling the substrate.
UV printing on wood merges cutting-edge technology with creative flexibility. This method produces vibrant and durable designs on wooden surfaces. By following a simple step-by-step process, you can achieve professional results.
Why Choose ColDesi for UV Printing on Wood?
-
Industry Expertise
With decades of experience, ColDesi understands the unique goals and challenges of customization businesses. We deliver innovative solutions designed to meet your specific needs. -
Comprehensive Support
From setup to ongoing maintenance, ColDesi’s dedicated support team is with you every step of the way, ensuring success for the lifetime of your machine. -
Scalable Solutions
Whether you’re a small business or managing high-volume operations, ColDesi offers equipment and resources that grow alongside your business. -
Community and Resources
Gain access to a wealth of tutorials, webinars, and forums designed to help you refine your skills and expand your expertise.
Transform your ideas into professional-grade results with ColDesi’s advanced UV printing solutions. Call 877-793-3278 or visit our website to live chat with a Pro and learn more.

