A Practical Guide for Custom Apparel Businesses
T-shirt customization blends creativity with technical skill. Success takes more than great designs. Businesses using embroidery, DTF printers, white toner systems, bling machines, or sublimation must also focus on process. Artwork must be prepared correctly, and materials must be chosen carefully. Each job must match the right production method. This guide shares tips to help your business improve production and deliver consistent, high-quality results.
1. T-Shirt Selection
Fabric Type
- Cotton works well with DTG, DTF, white toner, and embroidery.
- Polyester is the optimal choice for sublimation.
- Blends support many methods but should be tested for compatibility.
Garment Color
- Light-colored shirts are best for sublimation and white toner transfers.
- Dark garments need underbase layers for DTF and toner prints.
Construction Quality
- Shirts with a high stitch count are better suited for embroidery.
- Smooth surfaces are ideal for printing and bling applications.
2. Design with Intention and Production in Mind
Every t-shirt customization project should begin with a clear concept. A resilient design starts with a clear message and purpose. Begin each project by sketching or mapping out concepts. Define the target customer and the intended style. Avoid rushing into design software without a plan.
Review your initial concepts for production feasibility and consider how the design will interact with specific fabrics and machines. Preparing artwork with your production method in mind ensures better results.

3. Use Mockups to Preview Design Application
Before committing to production, apply your designs to t-shirt mockups or model photos. This allows you to assess the size, placement, and visibility of the design on an actual garment. Adjust the scale and alignment to avoid awkward positioning.
Visual previews also help customers make informed approvals. They reduce revisions and improve communication throughout the process.
4. Balance Simplicity and Detail
Designs that include excessive detail may lose clarity during printing or embroidery. Oversimplified designs may appear flat or uninspired.
Aim for bold, legible artwork that maintains detail without overwhelming the space. Sharp contrast linework and smart use of negative space improve visual impact. DTF and white toner printing allow for vibrant, detailed graphics, but clarity must remain a priority.
5. Tailor Designs to Your Target Customer
Understanding your customer helps you deliver more effective designs.
For example:
- Corporate clients typically request clean, professional logos.
- Youth teams often prefer full-color graphics with energy and flair.
- Fashion-forward buyers may look for artistic, trendy layouts.
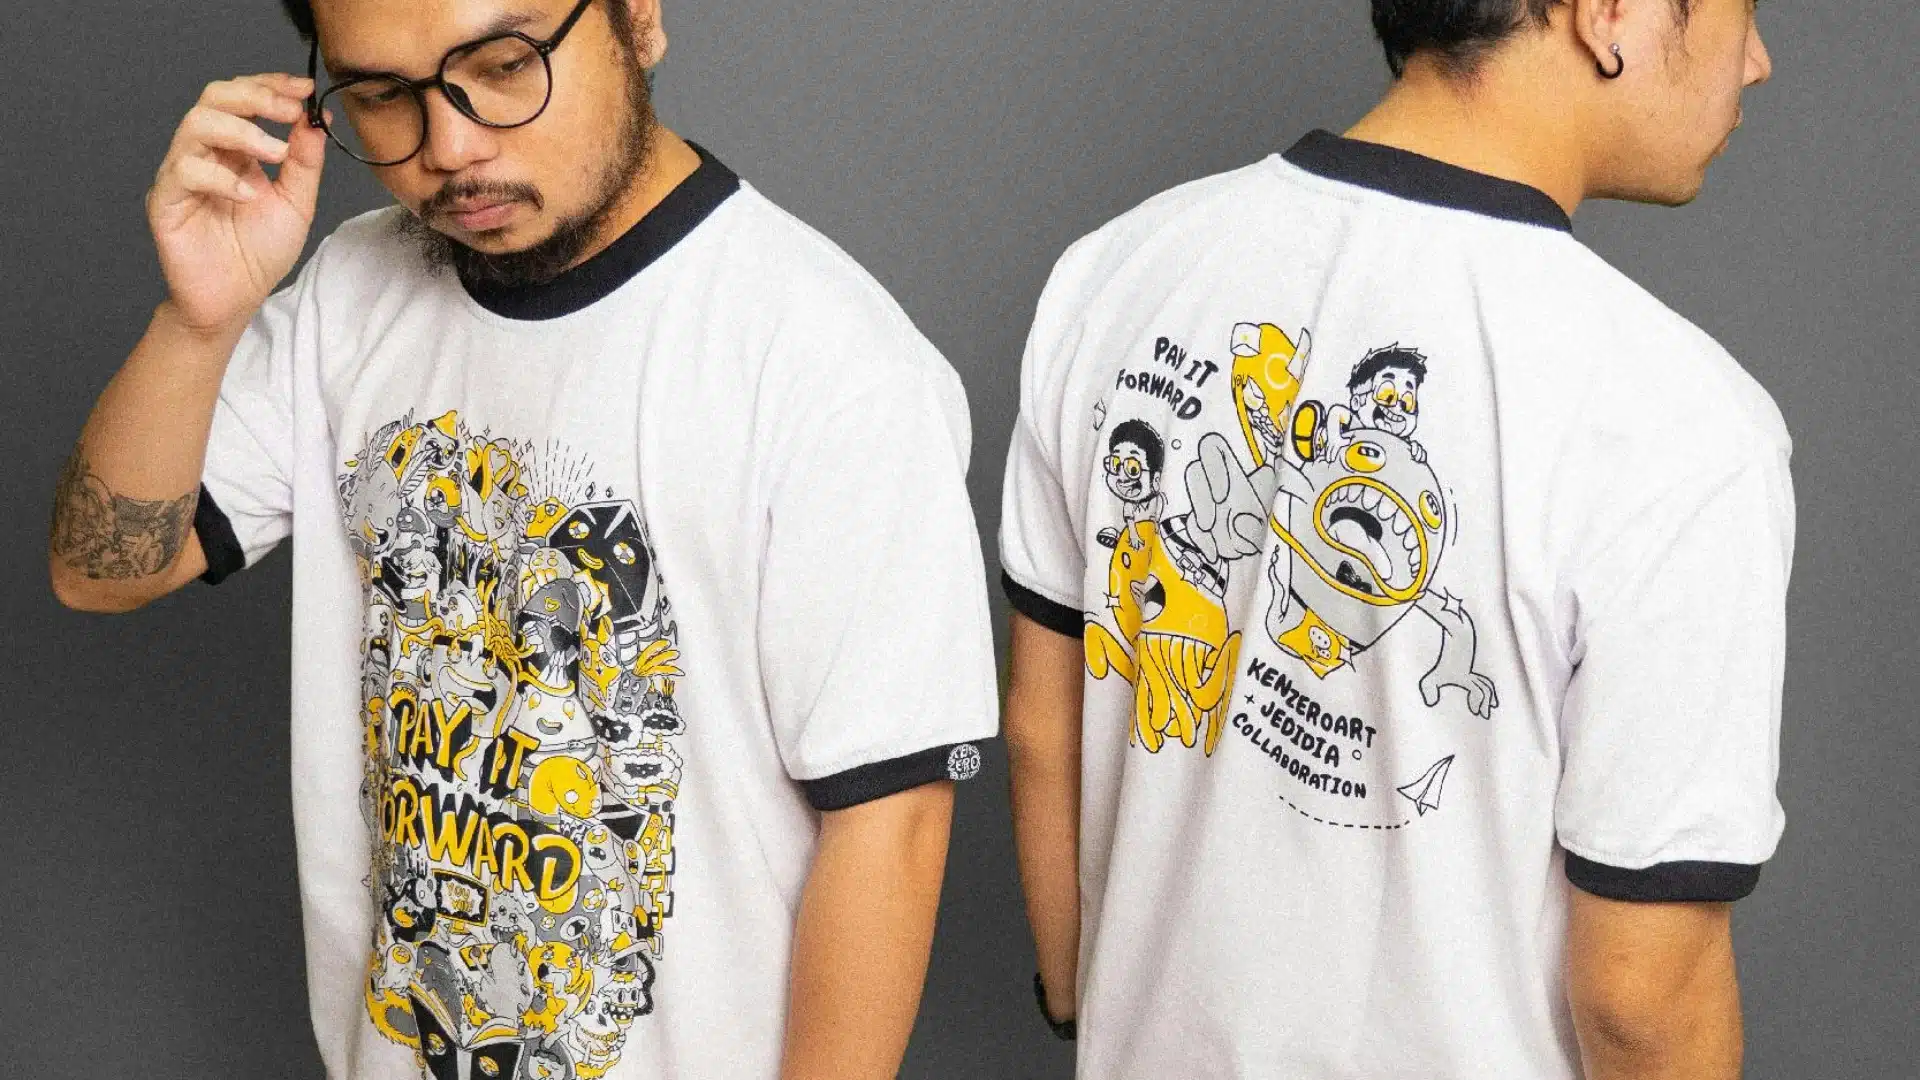
6. Use Humor Carefully and Sustainably
Humor works well in t-shirt customization but requires care. Designs should be appropriate for public wear and aligned with the client’s identity. Avoid jokes that are too obscure or based on trends that may fade.
Durable, tasteful humor can result in long-term sales and repeated orders. Combine it with high-quality prints using ColDesi DTF systems for lasting impact.
7. Prepare Print-Ready and Stitch-Ready Artwork
- Use a resolution of 300 DPI or higher.
- Convert designs to CMYK color mode.
- Flatten layers and ensure clean edges.
- Include bleed and trim areas where necessary.
- Digitize files using professional software.
- Avoid fine outlines, gradients, or thin lines.
- Use compatible formats like DST or EMB.
- Simulate stitches to check registration and density before running the machine.
8. Select Colors That Match Print Method and Fabric
- DTF and white toner systems print an underbase to maintain color brightness.
- Sublimation works best on light-colored polyester. Allow dye to bond directly to the fibers.
- Embroidery thread colors should be selected based on Pantone or brand specifications.
9. Use Accurate Placement and Alignment Tools
- For front chest designs, position artwork 2.5 inches below the collar.
- Left-chest logos typically sit 3.5 inches from the center and 7 inches down from the shoulder seam.
- Back prints should begin just below the collar seam.
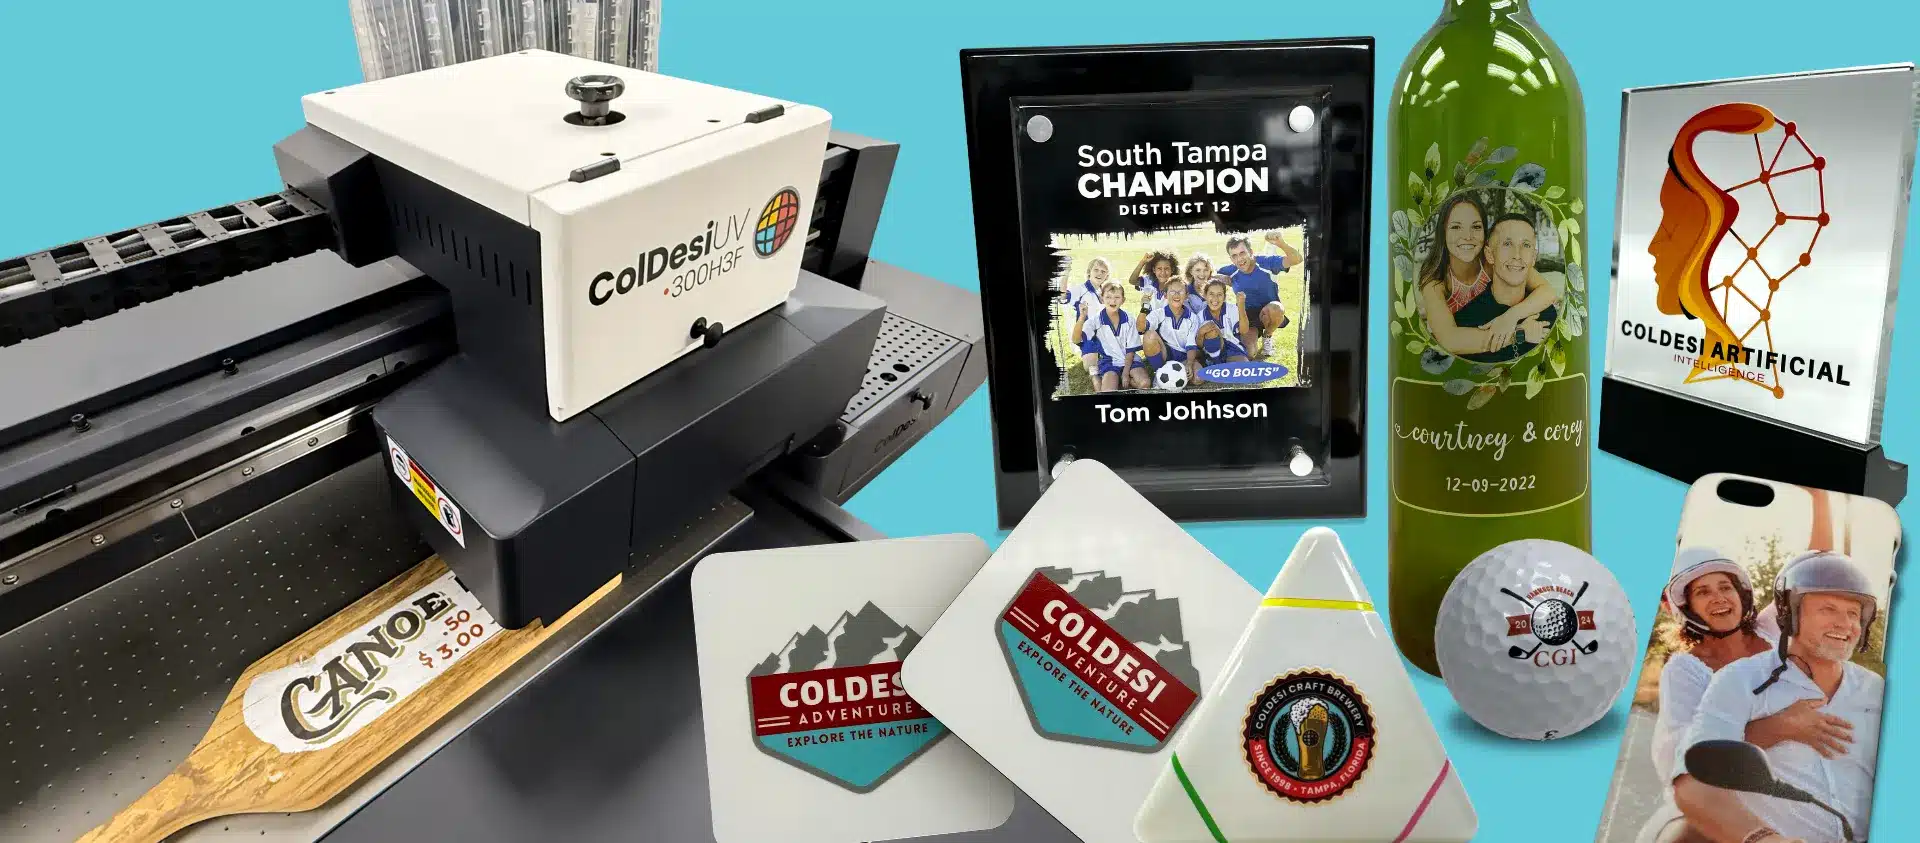
10. Choose the Right Decoration Method for the Job
- Screen Printing: Efficient for large-volume jobs with bold graphics and limited colors.
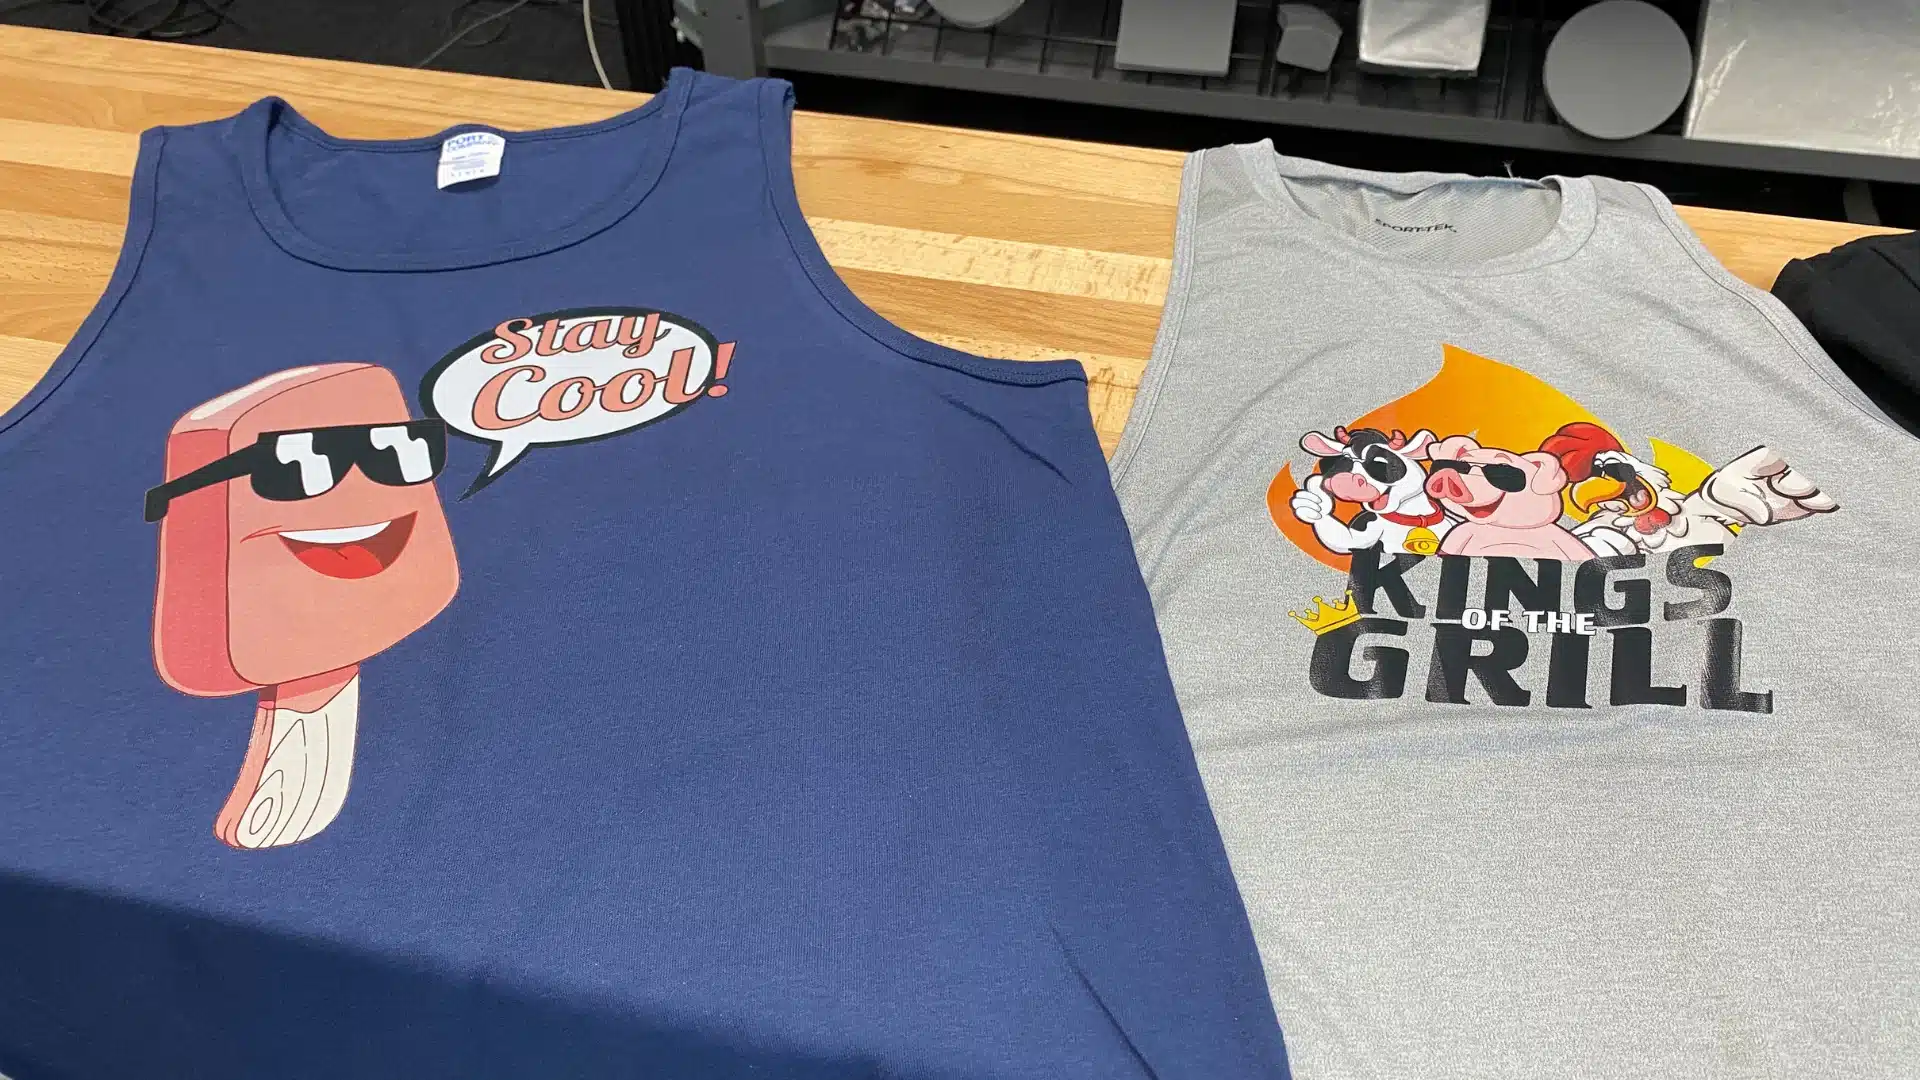
- DTF Printing: Supports full-color, photo-realistic designs on cotton, poly, and blends.
- White Toner Printing: Fast, versatile solution for short runs on any shirt color.
- Sublimation: Delivers vibrant, permanent prints on polyester or coated garments.
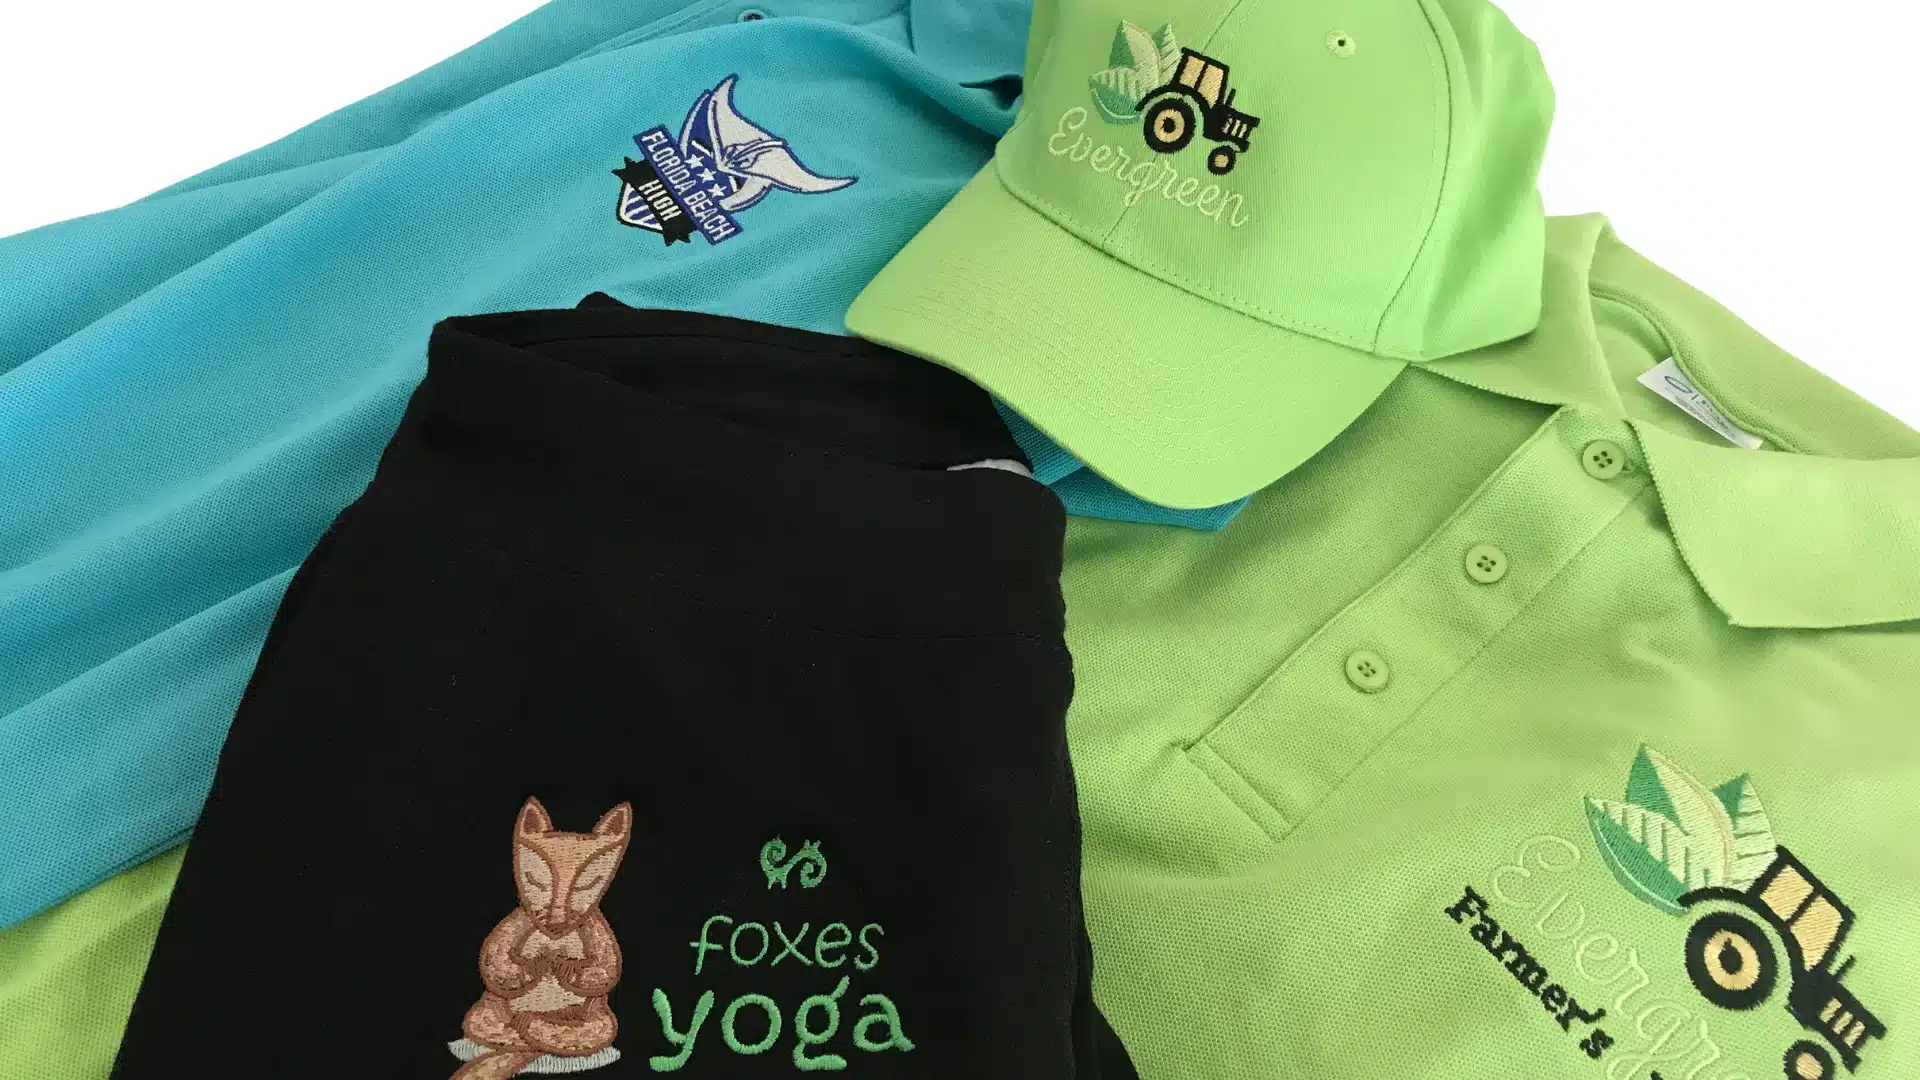
- Embroidery: Adds texture and durability for logos, monograms, and uniforms.
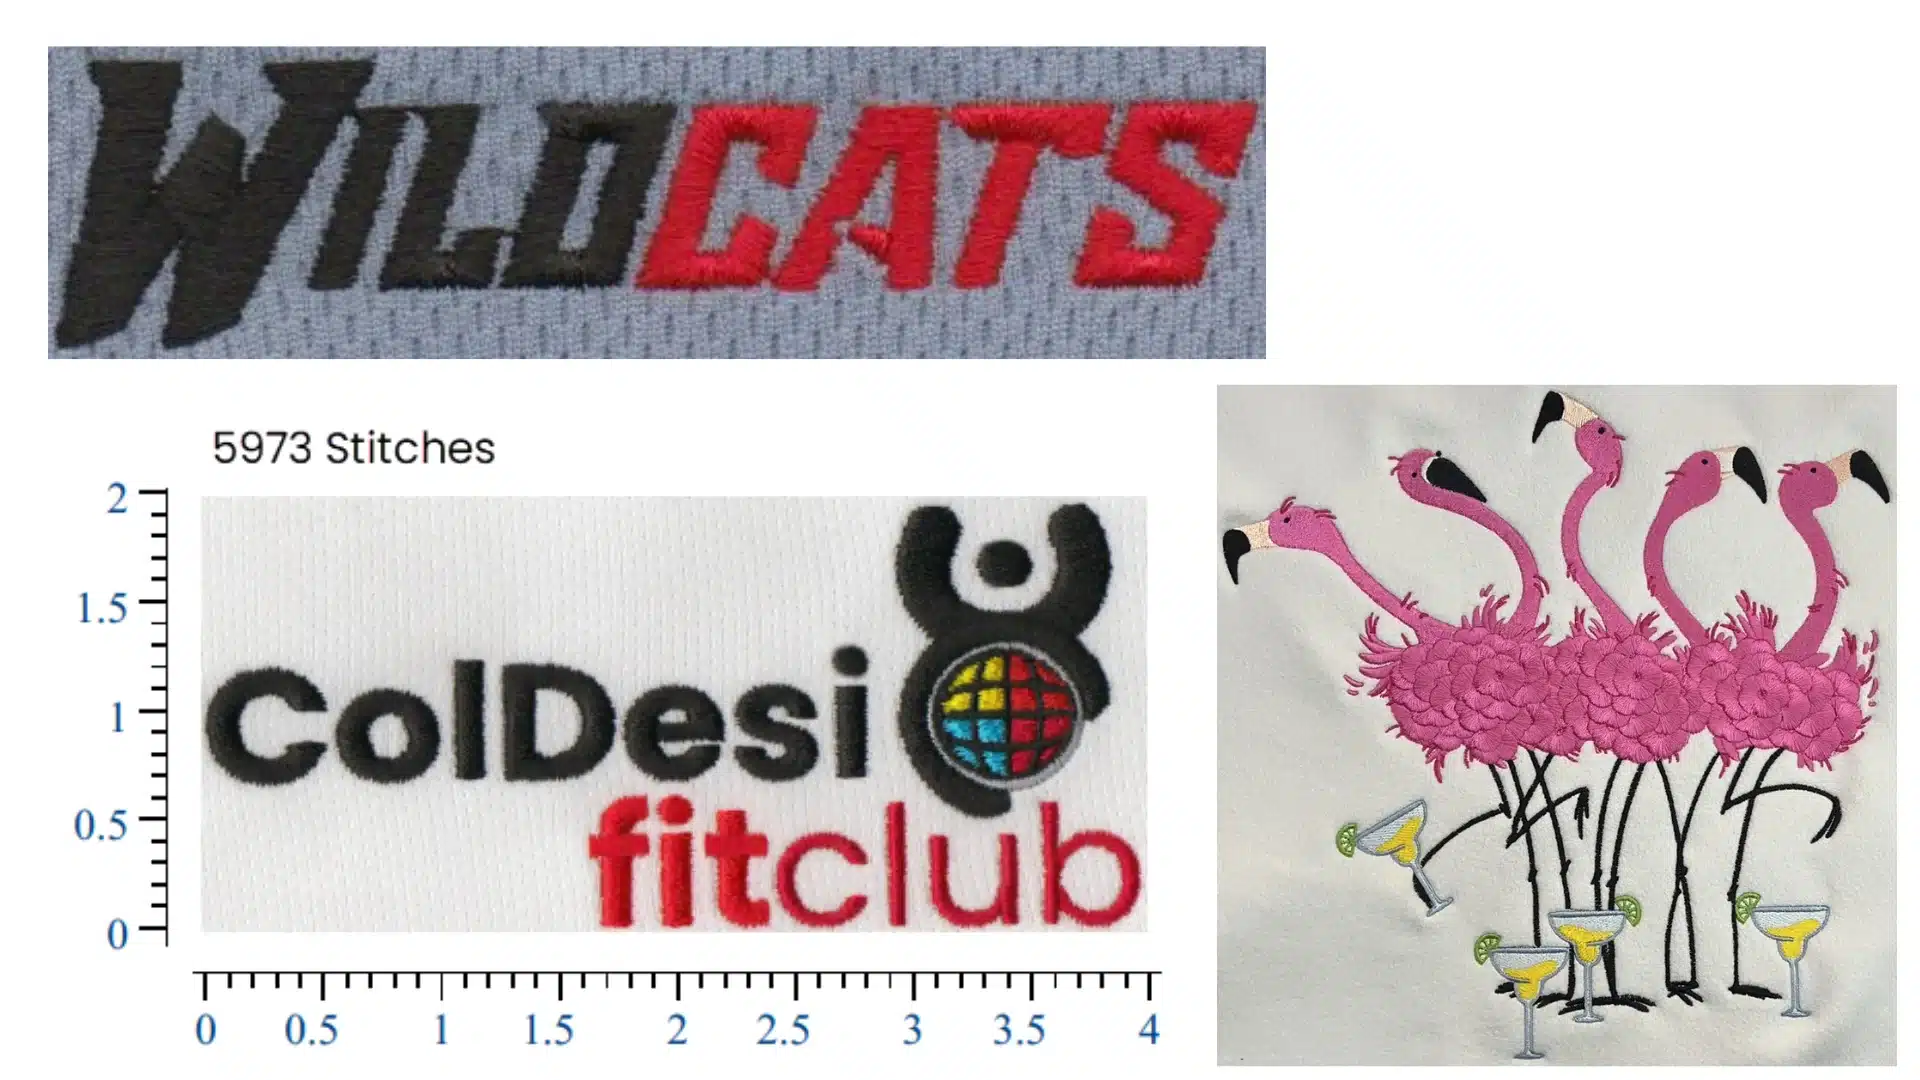
Embroidery-Specific Techniques
- Use cut-away stabilizers for stretch fabrics.
- Choose tear-away stabilizers for firm, non-stretch shirts.
- Adjust tension and needle type based on garment thickness.
- Ensure tight, accurate hooping to maintain design alignment.
ColDesi’s Avancé embroidery machines support precise operation and high-quality stitching.

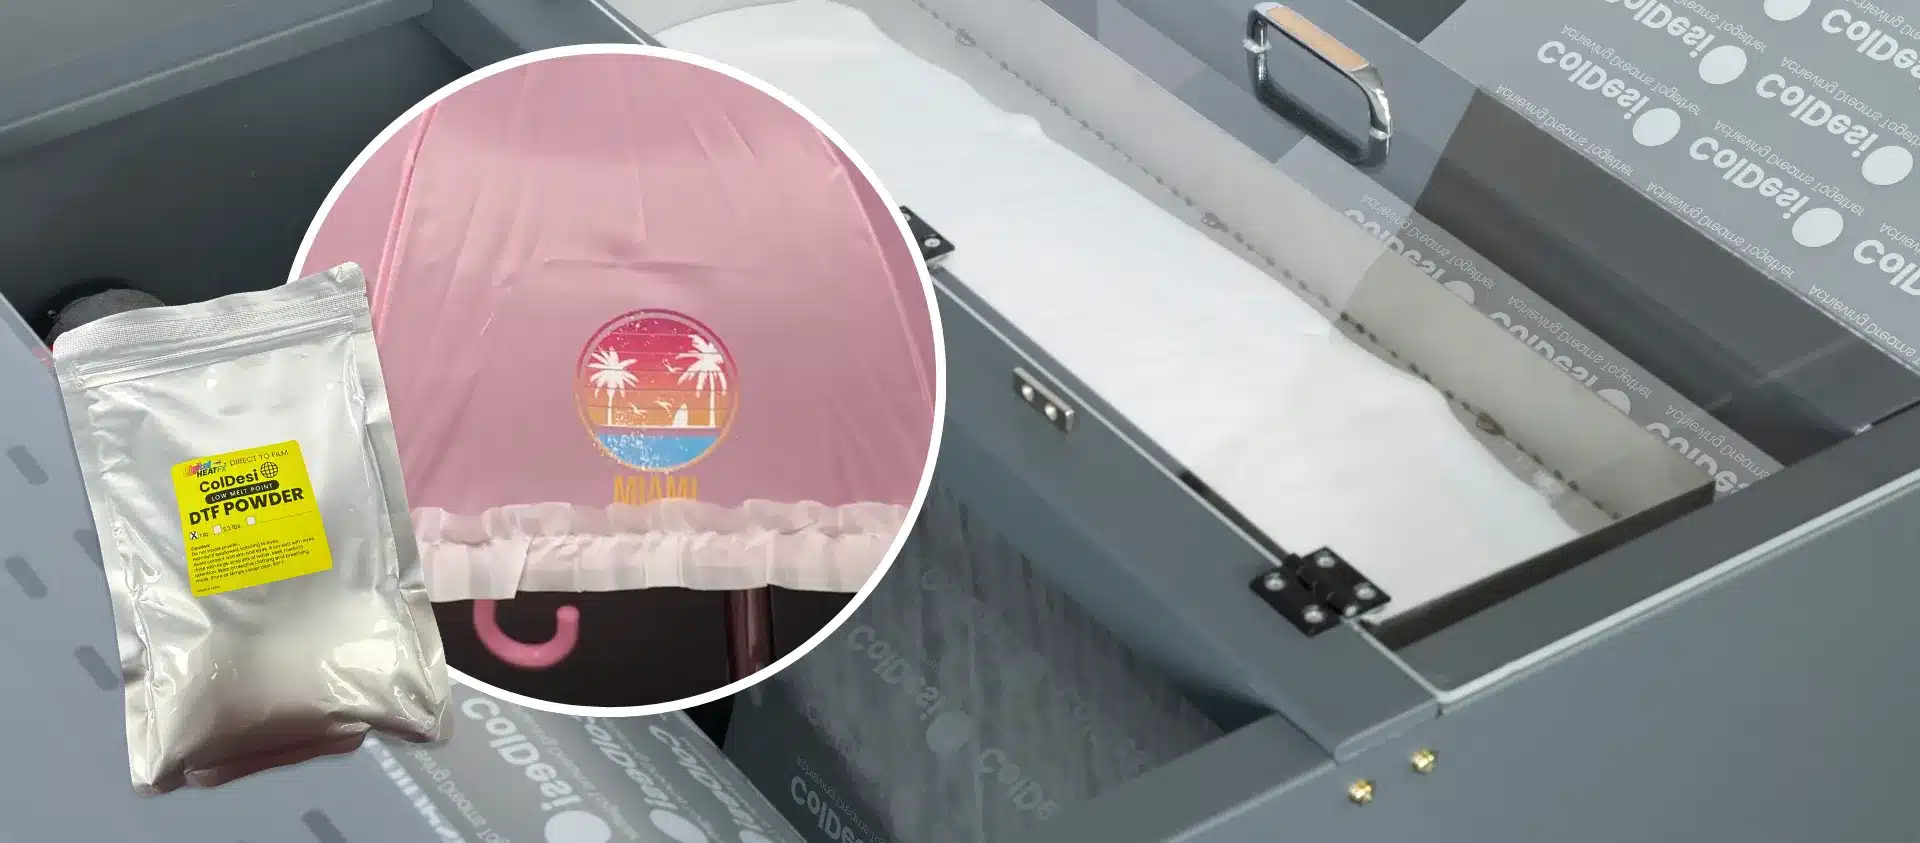
Apply DTF-Specific Techniques
- Design with bold, saturated colors.
- Use high-quality DTF film and ink for consistent results.
- Apply adhesive powder evenly and cure properly.
- Pre-press garments to remove moisture and flatten fibers.
White Toner-Specific Techniques
- Use white underbase layers to enhance visibility on dark shirts.
- Adjust heat press settings based on the transfer media used.
- Follow exact peel timing instructions for hot or cold applications.
- Avoid ultra-fine lines or subtle gradients, as they may not transfer cleanly
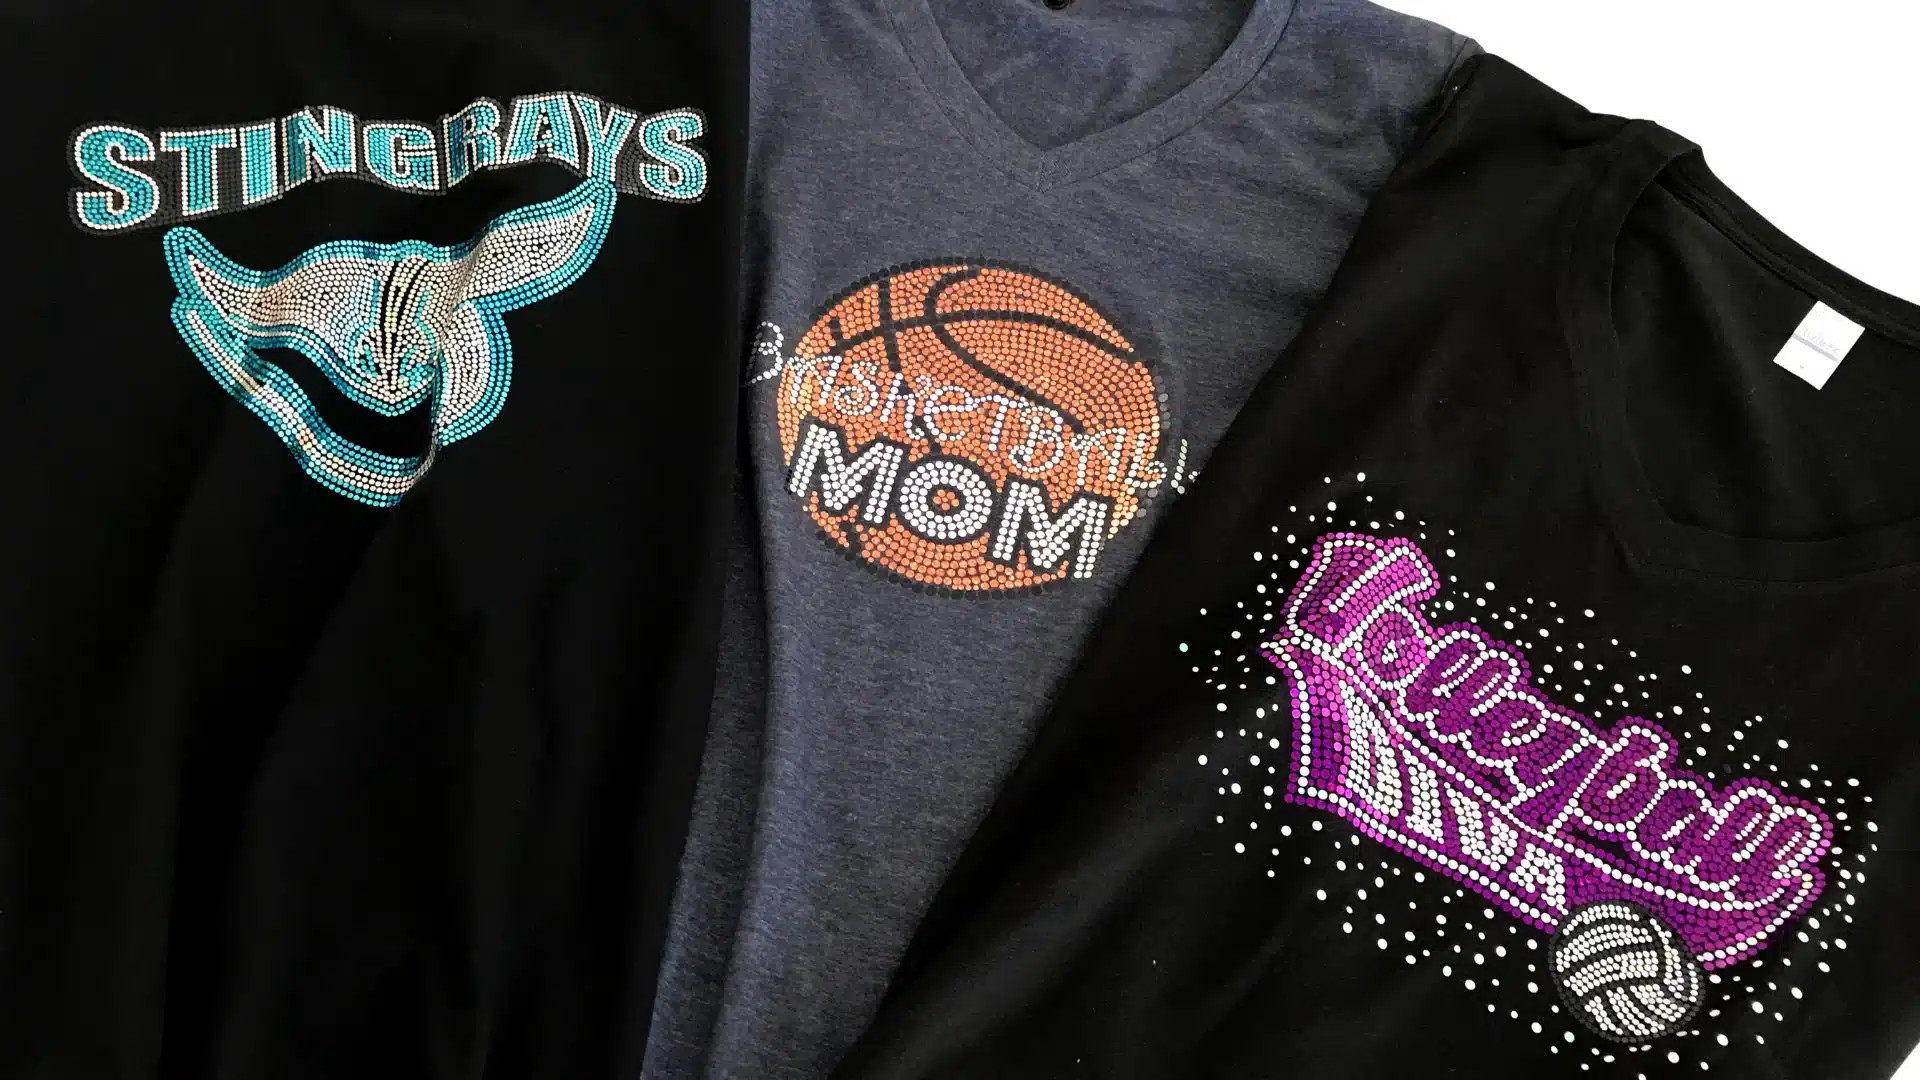
Bling-Specific Techniques
- Convert artwork into rhinestone-ready vector templates.
- Use quality transfer tape to ensure accurate pickup and placement.
- Apply the correct heat and pressure for each type of rhinestone.
- Combine bling with DTF or toner prints for layered, eye-catching results.
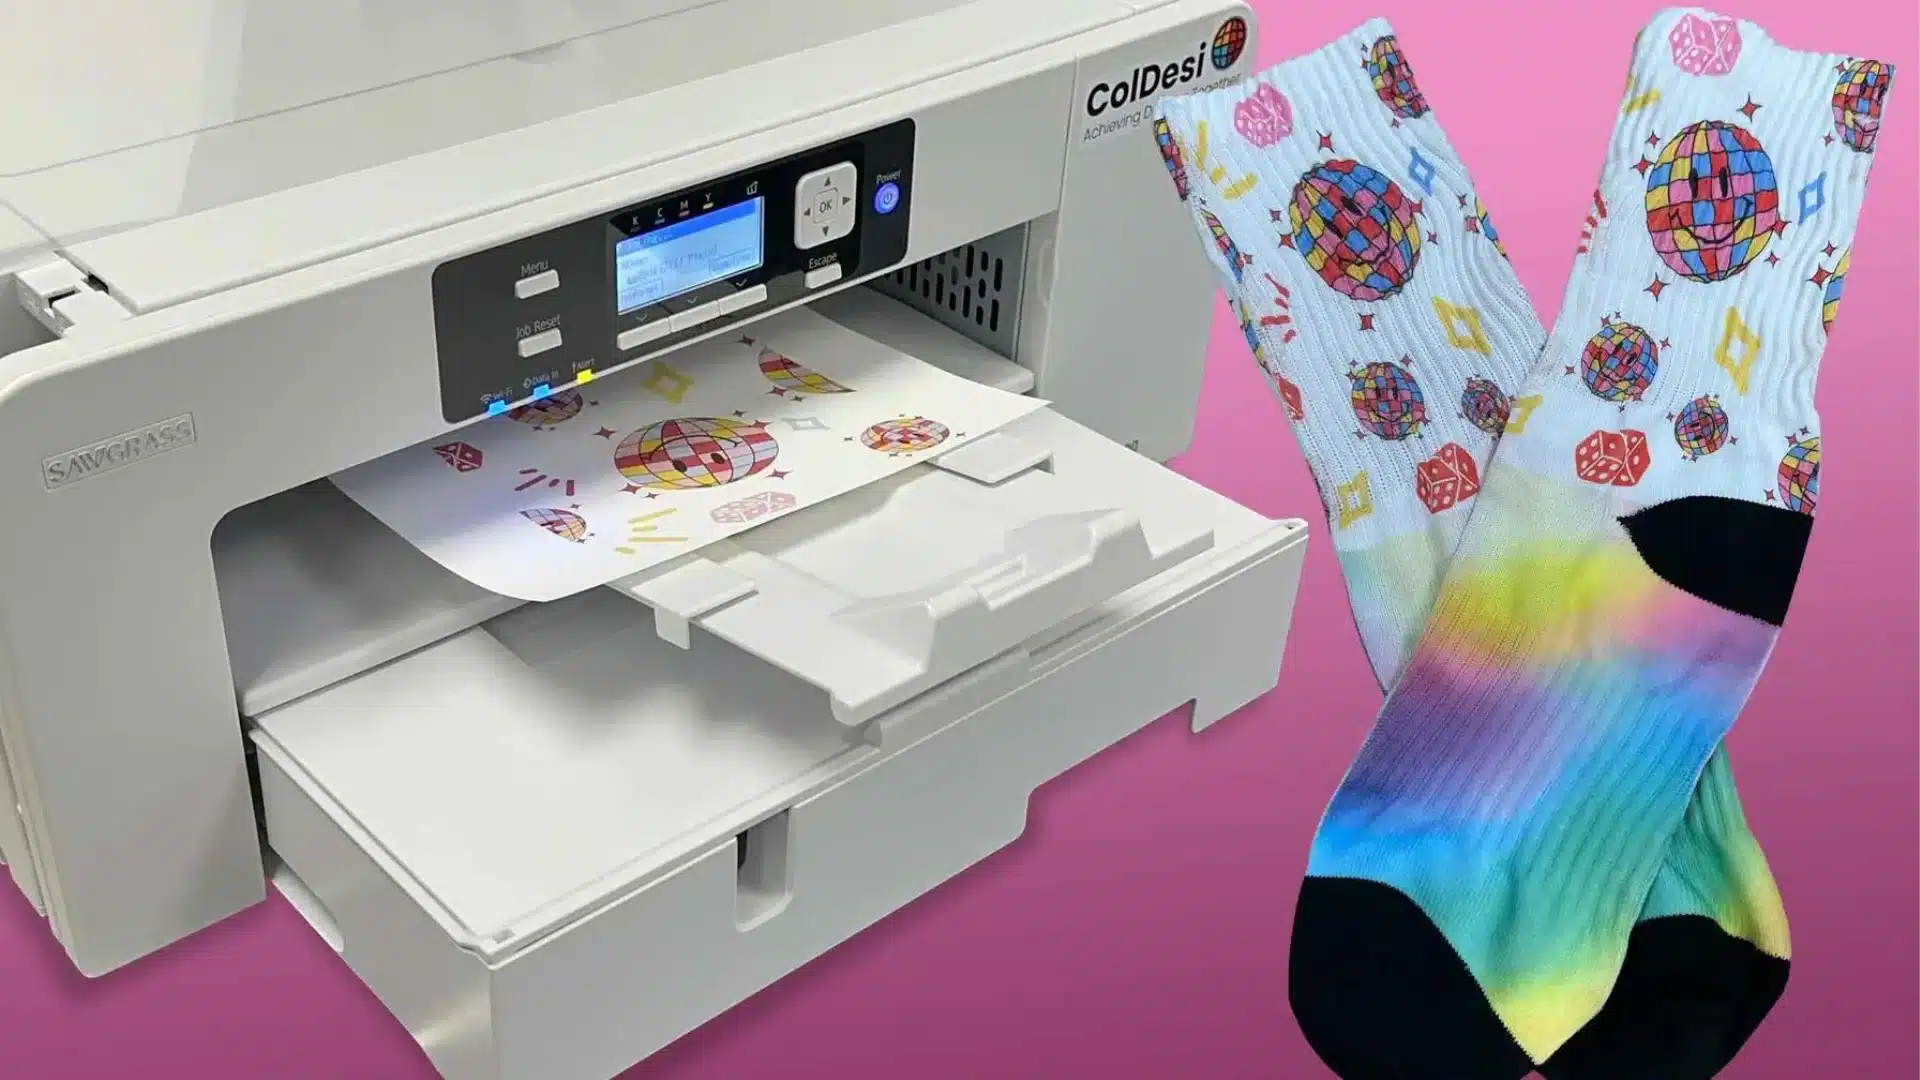
Sublimation-Specific Techniques
- Always pre-press shirts to remove moisture.
- Use high-grade sublimation paper and ink for optimal color.
- Choose garments with minimal seams for all-over printing.
- Avoid using dark-colored garments, as sublimation does not work on black or navy.
11. Print and Inspect Physical Samples
Before starting a production run, create a physical sample. This step validates your design, color accuracy, registration, and fabric compatibility.
Inspect adhesion, stretch resistance, and wash durability for DTF and toner prints. For embroidery, check thread density and fabric puckering. A test run allows you to make the necessary adjustments before full production.
12. Improve Workflow Efficiency
Efficient production improves margins in t-shirt customization. Operational excellence supports long-term business success.
- Use RIP software to manage color across DTF, toner, and sublimation systems.
- Label garments by size, type, and job to simplify handling.
- Apply consistent quality checks to reduce returns.
- Cross-train team members to manage different equipment for greater flexibility.
13. Offer a Diverse Product Catalog
Provide clients with decoration options tailored to their needs:
- Embroidery: Monograms, uniforms, corporate branding.
- DTF: Custom graphics, team logos, retail designs.
- White Toner: Sportswear, weddings, names, and numbers.
- Bling: Bachelorette events, fashion t-shirts, dance teams.
- Sublimation: Performance wear, artistic apparel, vibrant prints.
Diversification attracts new customers and supports scalable growth.
T-shirt customization requires a strategic approach at every step. From concept development to selecting the right equipment, each step shapes the customer’s experience. Focus on precision, design clarity, and method compatibility to create high-quality garments that keep clients coming back.
Ready to Take Your T-Shirt Customization Business to the Next Level?
Explore ColDesi’s full line of professional equipment. Get expert support every step of the way. Fill out the form below or call 877-793-3278. Speak with our team today for a personalized consultation or request a demo to see how the right tools can transform your production process and grow your business.