Using a t-shirt heat press machine in your business is an affordable and easily accessible way to create custom apparel.
Whether you’re thinking of adding a heat press to your existing business or starting your own custom apparel business, here’s an easy-to-follow guide on how to use your t-shirt heat press.
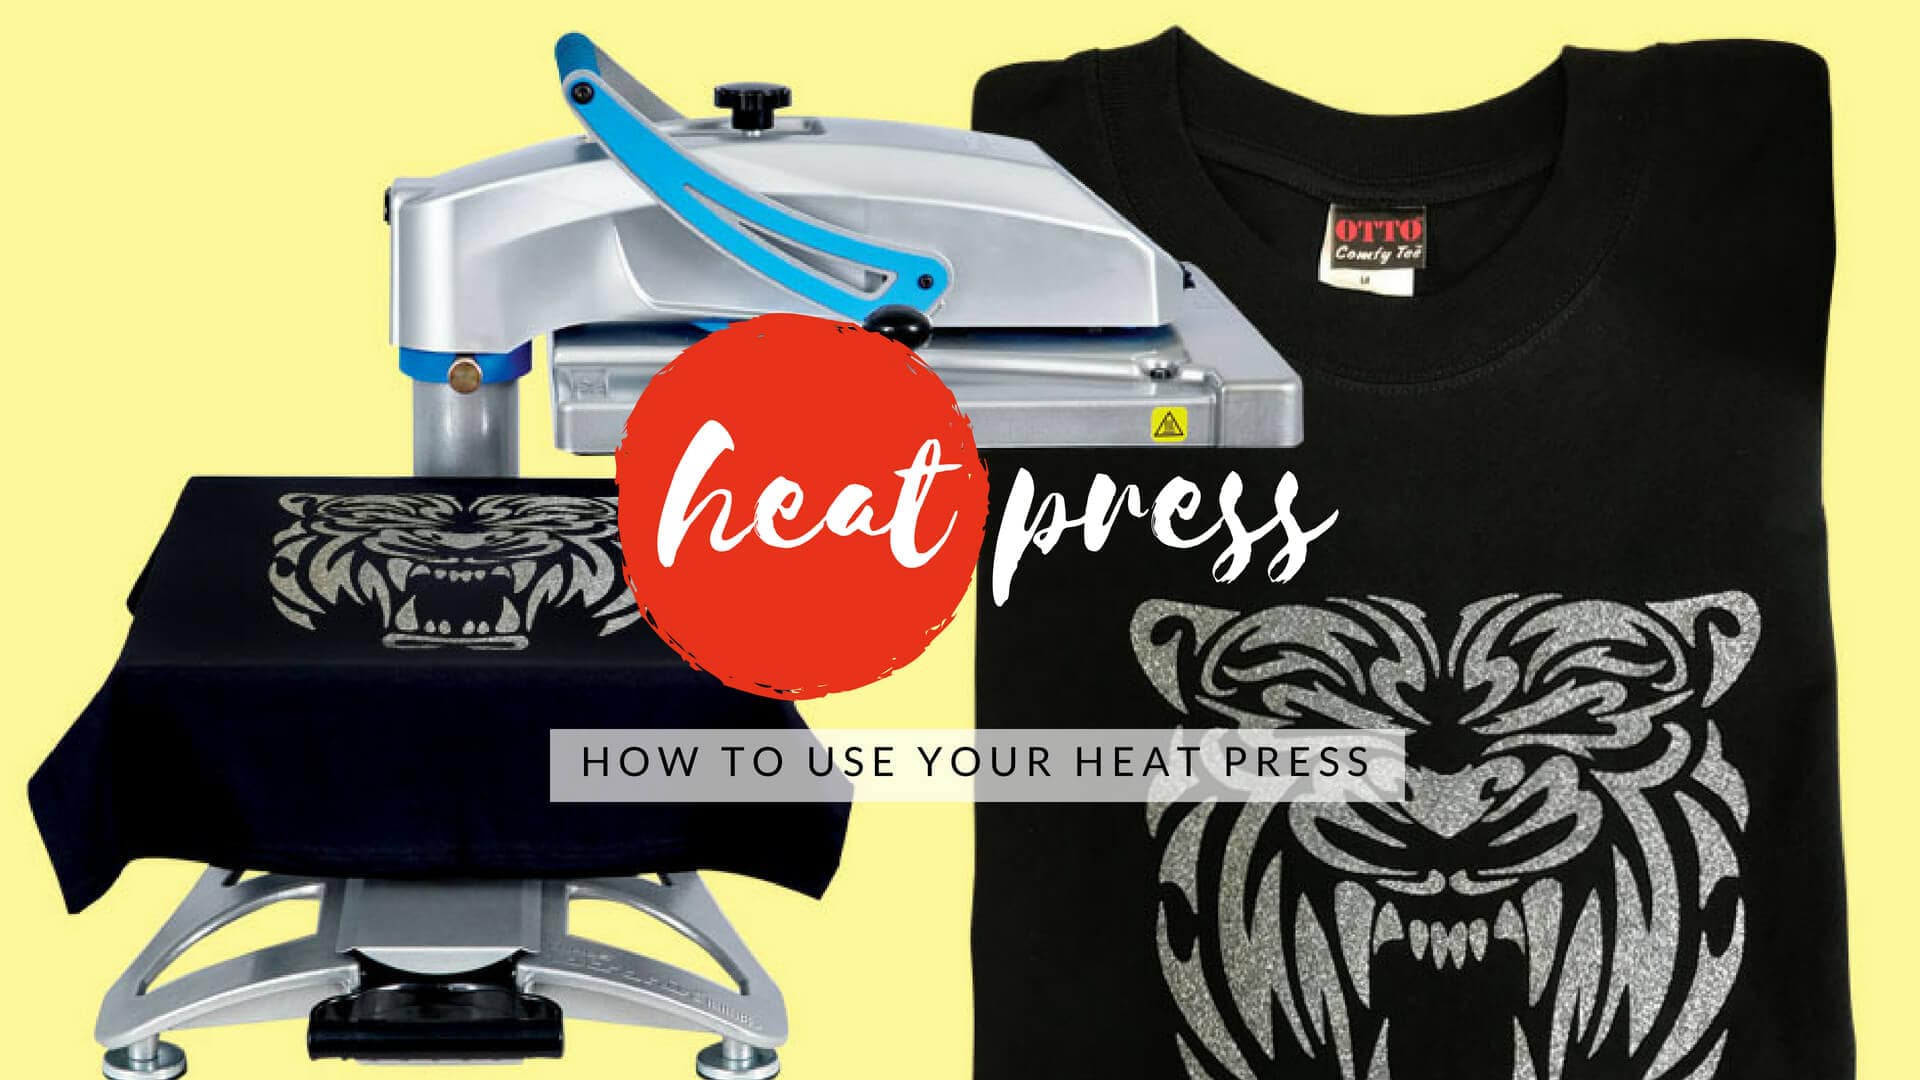
How To Use Your Heat Press
- Turn it on. Heat presses are often compatible with a standard house electrical socket. No need for an adapter or different outlet. When the t-shirt heat press arrives, just plug it in and turn it on.
- Set temperature. Adjust the thermostat setting to the temperature that is required by the process you’re using.
- Set the timer. Depending on your machine, the type of transfer, and the blank this can be anywhere from 45 seconds to 3 minutes. If you’re using a direct to garment printer this will change depending on ink and fabric.
- Open the press. Then, set your t-shirt down on the side you’re placing the design on facing up.
- Preheat or Pre-press your garment. This is sometimes an optional step. It’s used to remove any excess moisture or creases from the shirt. Some shirts come with a pre-treatment wash, and heating up the garment with the t-shirt heat press helps adhesion.
- Place transfer. Place the transfer on the shirt facing down. You can use a combination of t-squares, rulers, laser alignment tools or custom cut templates to make sure each design is placed correctly.
- Close press. Ensure the press locks firmly in place. Some models use air pressure to help close and open the t-shirt heat press. Your hands are free to do other things.
- Start timer. Your timer may start automatically
- Open the press. Once the timer goes off, open the t-shirt heat press and peel the transfer paper from your shirt. Some heat presses will open automatically so you cannot “burn” the shirt.
T-Shirt Heat Press Tips And Tricks
- Allow 24 hours for the t-shirt to dry before washing.
- If the transfer paper does not come off easily, re-press for another 5-10 seconds.
- To make sure the t-shirt is loaded straight on the machine, check that the tag is aligned with the back of the t-shirt heat press.
- Always test print. You can often use a regular sheet of paper to test press your design. Or buy scrap fabrics from the store. Testing ensures that the colors print correctly and gives you a good idea of how the final product will look.
- Practice with different blanks and transfers. You should be comfortable with your t-shirt heat press to ensure no mistakes once you start filling customer orders.
Introduction – Types of Heat Presses
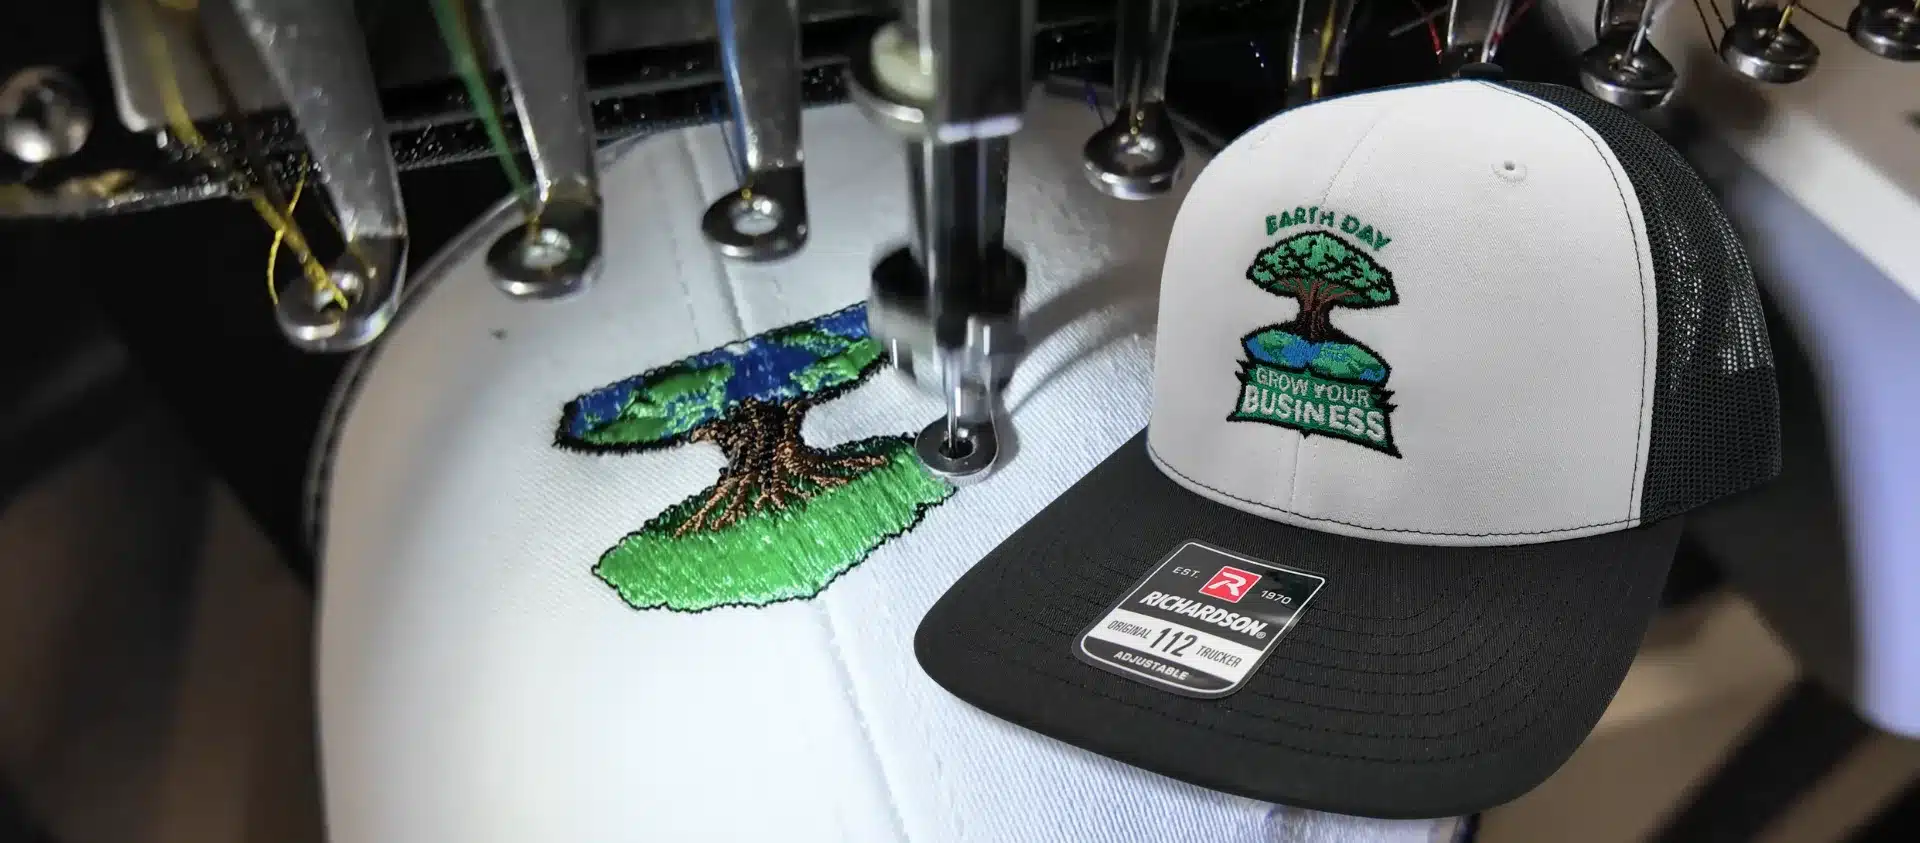
Cap Heat Presses
6 Must Have Heat Press Accessories
Heat Press Accessory – Perfect Print Pads
Heat Press Accessory – Teflon Pillows
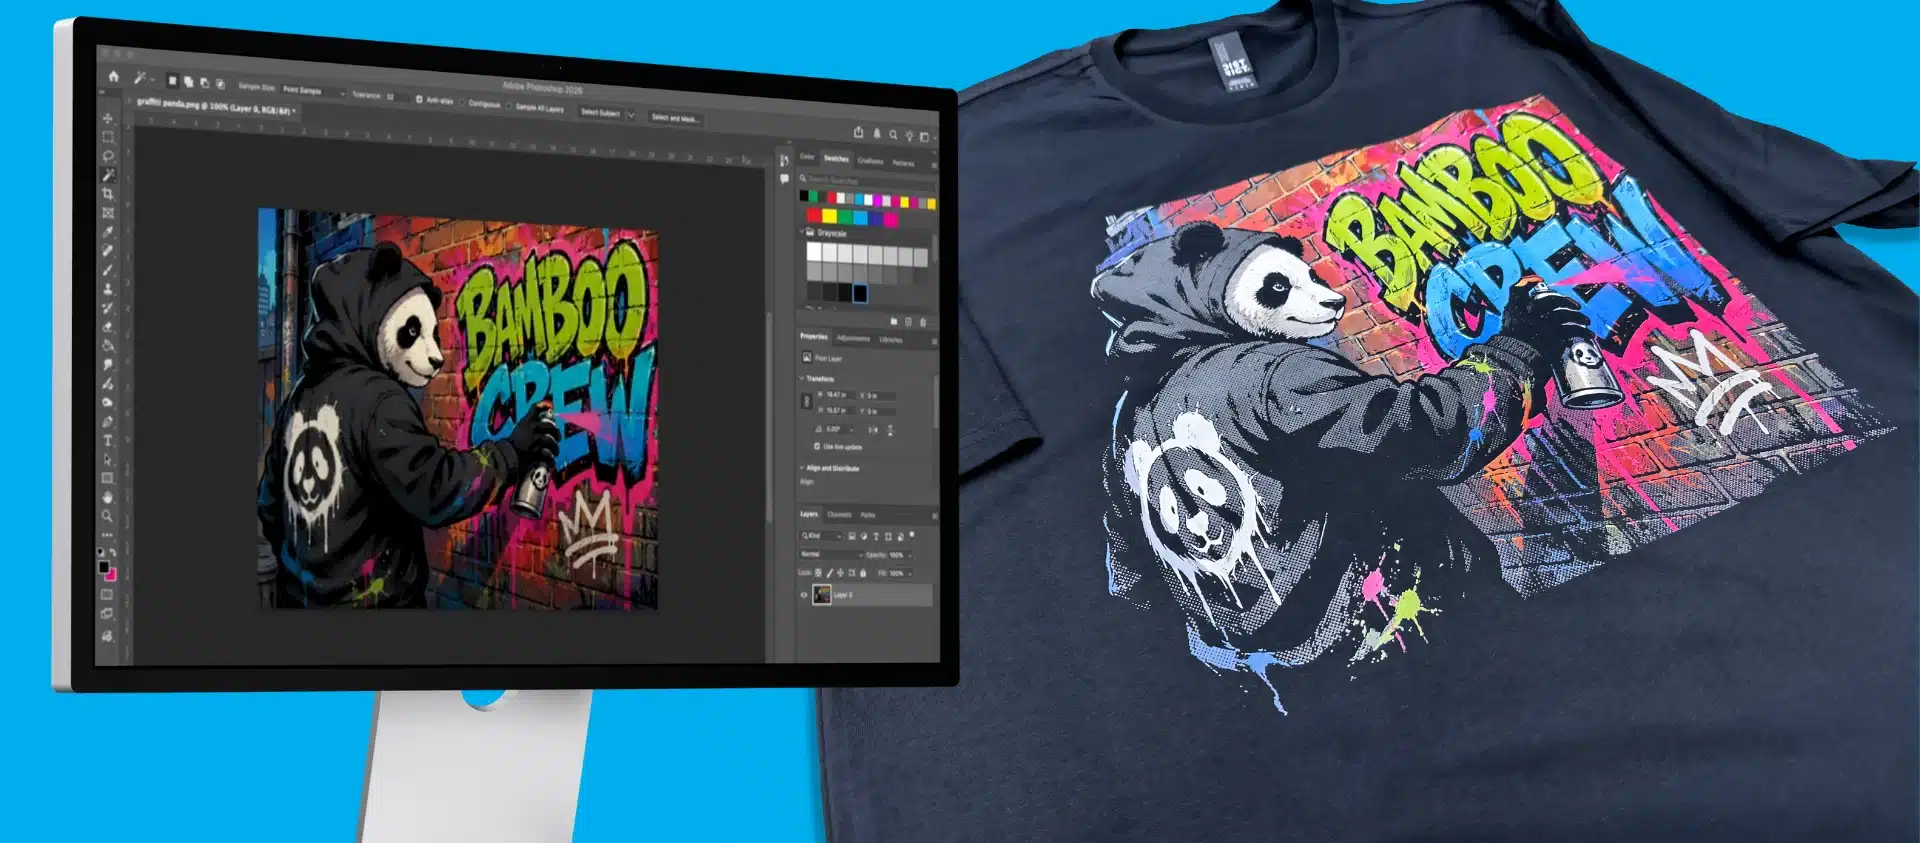
Heat Pressing a DTG Printed Shirt
If you’re using a heat press to set your DTG (direct to garment) printed shirts, follow these steps:
- Place the DTG printed shirt face up on the heat press
- Lower the press to a hover
- Leave for 10-30 seconds, depending on the size of the image
- Open your t-shirt heat press
- Place a release sheet over the shirt
- Close the heat press onto the t-shirt. Use medium pressure
- Set the temperature to 340-345°
- Leave for 90 seconds on dark t-shirts, 45 seconds on lights (using the Triton Heat Press, Hotronix machine, or George Knight)
Tips for Using a Hotronix Heat Press or Triton Heat Press on DTG printed t-shirts:
- Monitor the pressure carefully and check results. Don’t close the press too tight or too lightly.
- Once you place the release paper on the shirt, don’t move it around – you can smudge the design.
- You can use parchment paper. It is cheaper but doesn’t last as long as the release paper which you can use over 100 times.
- Using a Teflon sheet will create a shiny coating over your design.
- The paper should slide right of the shirt once done. If it doesn’t, close the press for another 5-10 seconds.
Using The Best T-Shirt Blanks (Plain T-Shirts)
Not all t-shirts are suitable for use in a heat press machine. If your unsure check with the blank supplier Sanmar does a good job) or the team at Colman & Company.
Nylon, spandex, cotton, polyester, and Lycra are all suitable for a heat press. Although each fabric type can have unique heat and pressure settings.
PRO TIP: Professional heat presses draw a lot of power, so if your circuit breaker trips when you use it you should find a less used line or put in a dedicated one.
Ton’s of Opportunity Awaiting
T-shirt heat presses are reasonably simple machines to use and are great additions to any custom apparel businesses. T-Shirt presses have tons of uses and applications:
- Digital Heat FX – Custom Printed T-Shirt Heat Presses
- DTG Printed Shirts – Direct to Garment Printers
- Cut Vinyl Transfers – Using a Custom Cutter (Such as the Graphtec Cutters)
- Spangle Decorative Transfers – Made with a Spangle Machine
- Rhinestone Transfers – A Favorite with team moms & sports retailers
With a little bit of practice and following some best-use-practices, you can add to or start a successful custom apparel business creating t-shirts with a heat press machine. Hopefully, these tips and techniques can give you an overview of what to expect. The Opportunities for profits are out there!