Before you can improve adhesion for your UV prints, you’ll need to understand what needs to happen to get good adhesion. In other words, we need to get the UV ink to properly “wet” the surface.
The best way to describe this is by thinking about your car when it is freshly waxed versus when it has been a long time since it was waxed. On a freshly waxed car, water will bead up and basically roll of the surface. If your car hasn’t been waxed, the water will spread on the surface and not roll off – it “wets” the surface.
This is what you’re looking for in order to get good adhesion with our UV prints.
If your surface does not allow the inks to wet naturally, you need to improve the wetting process. The first step should always be to make sure the surface is clean. There are several products you can use for this.
For many plastic substrates, you can use Isopropyl or denatured alcohol and a lint-free cloth. However, you do not want to do this on the acrylic that has been laser cut as it will cause small cracks in the acrylic.
UV Adhesion on Acrylics
For acrylic that has been laser cut, you can use lighter fluid or paint thinner. There are also cleaners like Supply 55’s AP2155 – though they will be more expensive than the other methods mentioned above. For metal, it is usually advisable to clean it with acetone. You will be amazed how much “metal dust” comes off when you do this.
Wiping down your substrate also serves a secondary purpose – it helps to reduce static on the surface. Static can cause adhesion problems as well as print quality issues as it can cause the ink droplets to deflect from their original course.
It is a good idea, especially with plastics, to wipe down not just the print side but the opposite side as well to minimize static.
Even on materials that you know will give good adhesion, a quick wipe with a water-wetted lint-free cloth is beneficial.
Before you go further, you should do a quick test print onto the substrate and then do an adhesion test. The most common way folks do this is the simple scratch test. If you can’t get the print to start to come off with your fingernail, then take the next step and do a tape test.
Get a piece of tape with a reasonably aggressive tack to it (I like to use packing tape), smooth it across your print, and let it sit for a minute or so – then pull the tape off. Pull the tape off slow and steady, as if you’re trying to get pieces to come off. If you do not get any ink to pull off by this method, then you have pretty good adhesion. However, if you do get chipping or pulling off of ink, then read on.
So, you have cleaned the surface, printed it, and determined that you need to improve adhesion – now you can use a number of adhesion-promoting substances to improve the adhesion of your inks.
UV Printer Ink Adhesion on Plastics or Metals
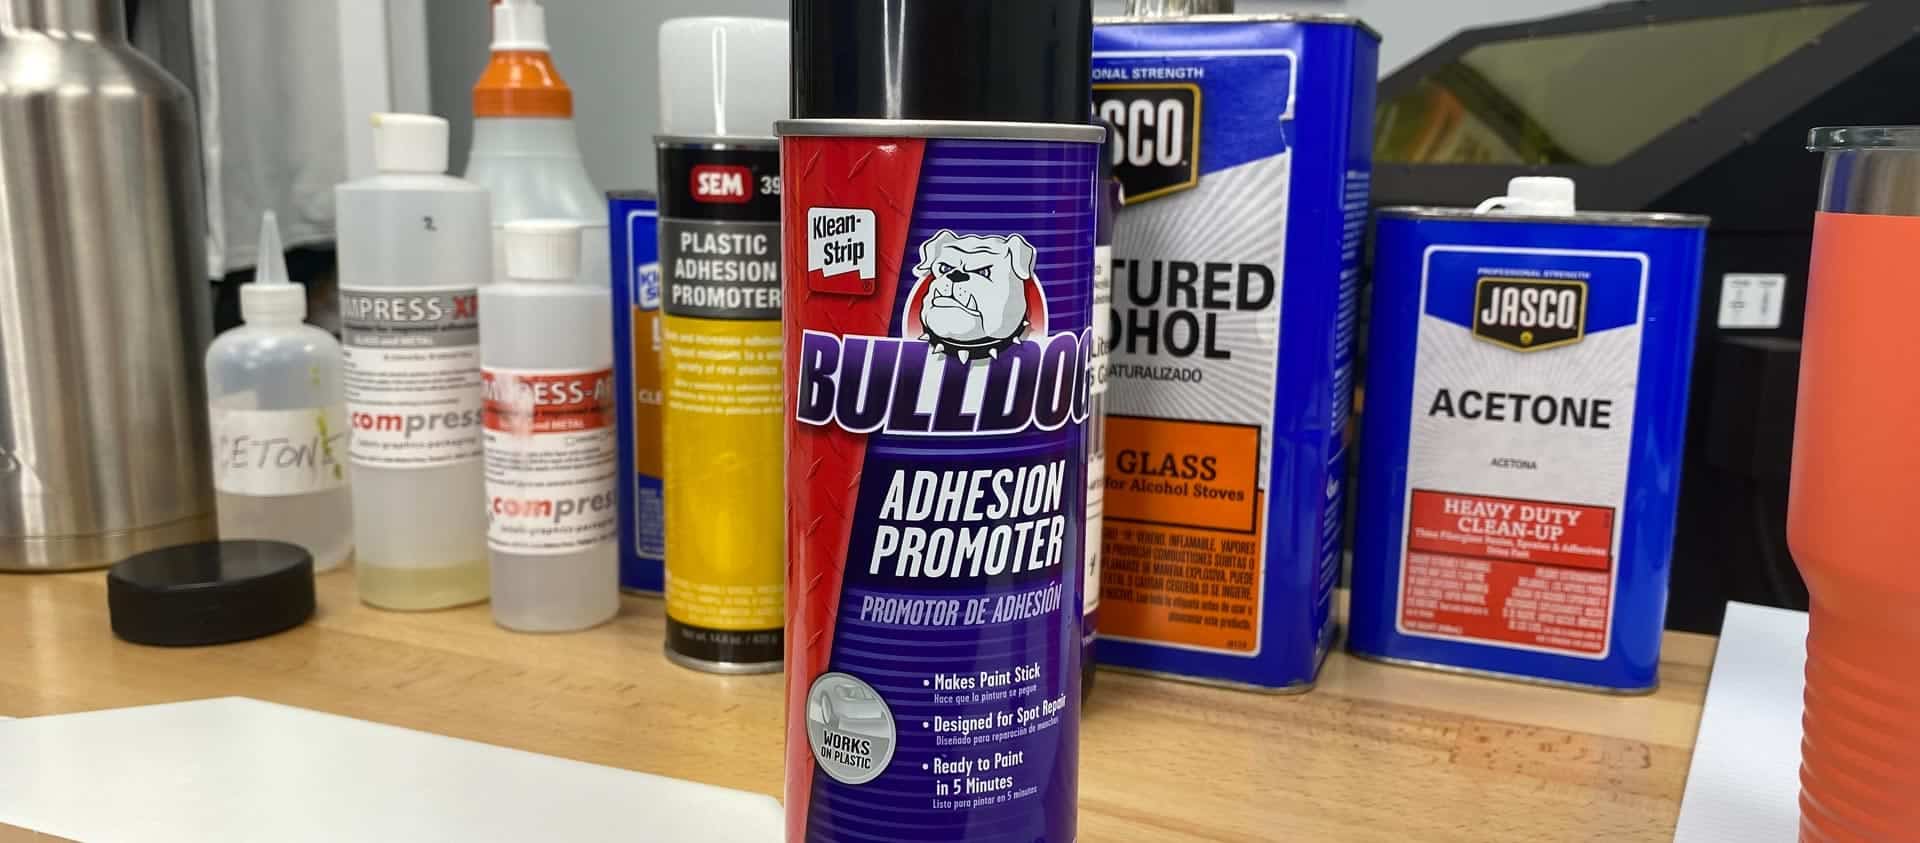
For plastics, there are several commercially available solutions geared towards UV printing (e.g., Compress AP and XP adhesion promoters available through Colman and Company) as well as adhesion promoters used in the automotive industry for better paint adhesion to plastic vehicle components (e.g., Bulldog and SEM adhesion promoters).
The best promoter I have found for metal is Bohle Verifix Metal Primer – just like with plastics – clean the surface and apply the promoter, let it dry, then print.
Adhesion can also be improved by methods other than chemical promoters applied to the surface of the substrate. Plastics can be “modified” to give better adhesion by other methods as well.

Some plastics will respond well to a simple flame treatment.
Using a handheld propane torch, simply pass the flame quickly over the surface for a few passes. Let the material cool, and print. This will burn off any impurities on the surface (often residuals of the manufacturing process.) It will also make the surface more open to ink wetting.
Plastics can also be treated with a process called corona treatment. This high voltage process changes the surface of the substrate. Eliminating foreign matter and changing the surface to be more adhesion-friendly. It is best suited for larger flat substrates. Think of things like sign blanks made of corrugated plastic and the like.
Blank manufacturers more often do corona treatment, but some larger operations bring it in-house. More likely for the end-user would be a plasma treater. Which is a very similar process but can be done with a handheld head that is also good for items that are not flat or even.
For better adhesion on plastics with low ink adhesion, print a clear or varnish underbase before applying the design. Clear/varnish adheres best because it lacks pigments, allowing full UV light penetration. It also spreads more effectively than color inks.
UV Printer Ink Adhesion on Glass
Printing on glass almost always requires adhesion improvement. Flat glass made by the float method has two sides: the tin side, which touches molten tin during manufacturing, and the air side.
For best results, print on the air side to avoid tin contamination, which can cause adhesion issues. Use a UV flashlight to identify the tin side—online guides can show you how. Before printing, clean the glass with alcohol and a lint-free cloth for optimal adhesion.

For best adhesion, you will want to use a flame treatment system like the Pyrosil kits available through Bohle
(https://www.bohle-america.com/shop/glass-bonding/surface-pre-treatment/)
UV Printer Ink Adhesion
Flame treats the surface to be treated as directed and apply the adhesion promoter included in the kit, let it dry, then print. Oftentimes flat glass is printed on the second surface to add an additional level of protection to the print. For drinking glasses and the like, the process is the same except there is no tin or airside to be concerned with.
One final way to improve adhesion is by changing the material’s surface to be printed by physically modifying it. This can be a simple as lightly sanding the surface on woods, metals, and plastics to etching it with a laser for materials like glass and some plastics.
As you can see – adhesion can be tricky. But, the rewards for your efforts can pay big dividends as you increase the types of materials you can print. As well as being able to quickly eliminate wasted time on materials that are not printable.
To learn more about improving UV printer ink adhesion. Visit our website coldesi.com, Live Chat with a Pro below, or call 877-793-3278.