Leather Embroidery
It’s one thing that strikes fear in an embroiderer’s heart. The fact is, it shouldn’t!
Embroidery on leather can look fantastic, as long as you follow the basics, and be careful. There are several tips for successful leather embroidery.
Many embroiderers are afraid of leather embroidery. They are convinced that puncturing “unforgiving” materials such as natural or synthetic leather is not worth the risk. If they have to remove stitches, the error is there for everyone to see.
With leather, they feel they have only one chance to blow it!
Yes, holes in leather may be irreversible, but that shouldn’t scare you off. The gorgeous results of embroidery on leather should be worth the risk. In addition, it is a service that few commercial embroidery shops will provide, which means it is wide open for you to make great profits!
In fact, since leather embroidery is limited in many markets, you should be able to charge a darned good premium for the work. whether or not you use an Avancé embroidery machine or not. The profit potential is out there, waiting for the right embroiderer, and that could be you!
Before you decide to take on the challenge of leather embroidery, you should remember some of the basics:
Some embroiderers think that leather embroidery will bust out after being embroidered. They see it the same as a cutout paper doll. It is true that punching out can create that effect, but it happens only with certain kinds of leather.
This makes it crucial to understand the variations of leather, and how they react to embroidery. The first issue is identifying how leather is tanned. The two basic techniques for tanning leather:
Oak, Bark or Vegetable Tanning
This technique produces a hard surface suitable for tooling, the enhancement process using a metal die and mallet to impress motifs directly on the surface of the leather.
Chrome-Tanned
Chromium salts are used to create chrome-tanned leather. This technique leaves the skin soft and supple. This style of leather is used in upholstery and garment leather and is the best suited for embroidery.
Another factor to consider is what skins were used in making leather. Most garment leathers are made with cow, goat, lamb, boar and deer skins. The surface can be either smooth full-grain, top-grain or the suede surface of a split.
The body part of the animal that makes the skin is another thing. Leather made from the stomach area will have more stretch than leather taken from the back.
Thickness will also affect the suitability of leather for embroidery. Leather will range in thickness from one-ounce (1/64” or 0.4 mm) to twelve-ounce (3/16” or 4.8 mm). Commercial embroidery machines will safely sew leather up to six-ounces thick (6/64” or 2.4 mm).
Stabilizing Leather for Embroidery
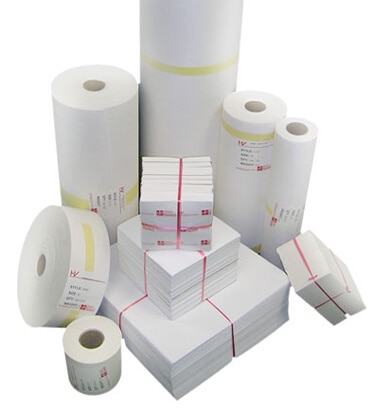
Treat leather as an unstable material, so a stabilizer is necessary to control movement. The best backing for leather embroidery is the Hollingsworth & Vose / Style 1720 TearAway-WashAway, especially for thin or fragile leather.
If the leather is sturdy, a soft tear-away is the way to go. Soft tear-away is made up of both long and short fibers and doesn’t tear as cleanly as more crisp tearaway. The 1720 TearAway is ideal for a medium like leather, which has good form and a small amount of stretch.
Always try to bond the stabilizer to the back of the leather, if possible. A fusible poly mesh is another good choice. Embroidery spray adhesive will help the backing adhere, but be careful that the adhesive does not bleed through the leather.
Spray a little stabilizer, and then press the stabilizer with your fingers to the reverse side of the leather.
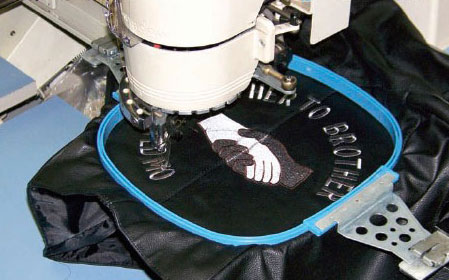
Hooping Leather for Embroidery
Another reason why some people shy away from leather embroidery is that they are afraid the Durkee Hoops will leave an indelible mark. Lower-grade leather will mark when hooped, but better-quality leather will not. When hooping suede, simply brush any ring with a toothbrush.
Leather is sensitive to over-tightening of the hoop Avoid this by opening the hoop a tiny bit wider than needed to accommodate more traditional material.
Frame it by gently pulling it tight in the hoop. Once framed, tighten the adjusting screw just enough to keep the piece secure for embroidery.
Remove the hoop as soon as possible after embroidering. Keeping the hoop on longer will increase the chances of leaving a ring.
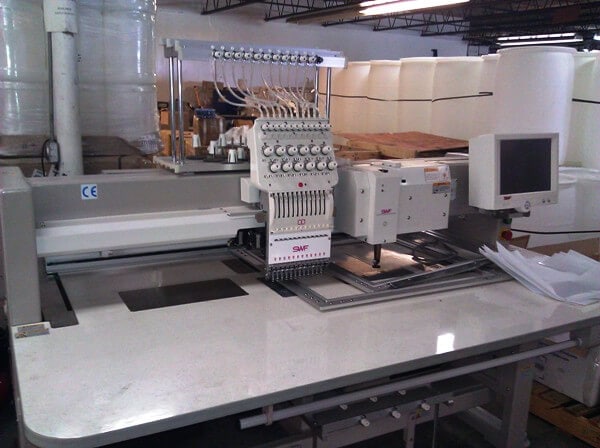
The thickest leather is on boots and belts, and they are also the most difficult to hoop. Your best bet is to use a bag clamp or one of the framing systems intended for adhesive backing. Fast Frames or Quick Change frames are recommended.
Top-grain leather can also be protected during hooping with a slight cushion placed between the hoop and the skin. Bandaging Tape is good for this purpose; it is designed not to stick to hair or animal skins. Magnetic hoops and clamps are also available to help protect leather while hooping.
Programming Designs for Leather Embroidery
Leather embroidery requires less underlay and a little lighter density but is not too much more difficult to program designs. When using garment or upholstery leather, stock designs can be used without problems. When using existing designs or
When using existing designs or a stock design, up the design 10 to 15 percent. This spreads the stitches out a little bit. Designs too tight will carve out in the leather.
Programming letters are often with a standard stitch spacing of 30 points. Your software may indicate this number differently, such as .3, .30, or 3.0. If the stitch spacing system on your embroidery program uses 30 points, lettering for leather should be using a slightly higher density of 40 points.
Change the three to a four in wherever it appears in your specific software. You will get a slightly lighter concentration of stitches and still provide appropriate coverage.
Change the three to a four in wherever it appears in your specific software. You will get a slightly lighter concentration of stitches and still provide appropriate coverage.
Special note: If your software packages define density as lines of thread per millimeter or stitches per inch, ignore this rule.
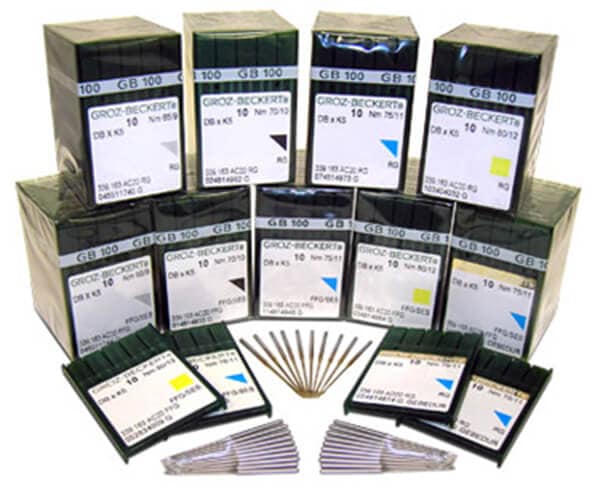
The Right Needles for Leather
Choosing the needle for leather embroidery gives embroiderers the most stress. The most recommended needle for garment leather is a light ball point 75/11. The blade size should be adequate to avoid needle deflection as the needle enters the leather. You can also use reinforced blade needles to help reduce deflection.
Troubleshooting Leather Embroidery
The first thing to do when a problem arises in leather embroidery is not to panic! Sewing malfunctions like as thread breaks and bird nesting are common and rarely will affect the results. Your biggest challenge will be to remove the stitching and cover up the needle holes in the leather.
If there are only a few needle holes within the body of the design, it might not be visible to anyone but you. A few more holes and your best choice will be to cover them up. You can expand the design or lay down a fill background.
Hesitant about leather embroidery? Oddly enough, that is a good thing! Think about it; you have better results when you work with materials you don’t like. You get much more cautious and less likely to make mistakes.
Cover all the details and move slowly before you start. Double check every detail! There is no need to avoid leather embroidery, especially if you are careful. Leather may be an unforgiving material, it is not impossible to work with, as long as you follow the details, you should expect it to be right the first time.
In commercial embroidery, the right supplies are the key to great results, especially with expert support and training. Colman and Company carries a full line of embroidery supplies for sewing on all substrates, in addition to all the support you need for success!
For any questions on supplies, contact the commercial embroidery experts at ColDesi at 877-793-3278